|
|
ANTI-GLARE FOR |
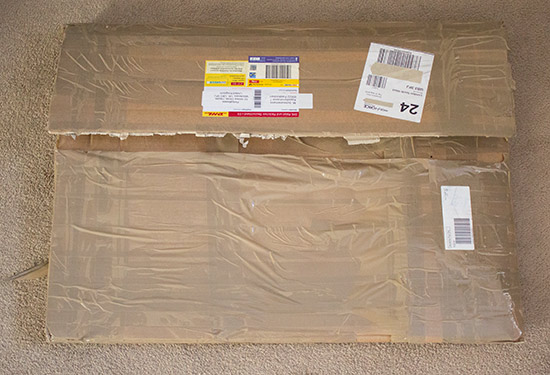
Date: 9th September, 2012 Anti-glare playfield glass is currently one of the most popular - and expensive - modifications pinball owners are adding to their games. Reducing the reflections in the playfield glass from the backglass or translite image and the dot matrix display improves visibility and makes the whole game look far more attractive. While reflecting the translite and the dot matrix display images on the playfield can be dealt with, what about reflections in the translite and DMD covers themselves? Anyone who has ever tried videoing or photographing a game will be familiar with the problem of trying to avoid reflections. It's a problem all games suffer from to some degree. It's worse if you have rows of machines, as the twinkling lights, the blinging flashers and the orange animations from the game behind appear in the backbox of your machine. So we come to a proposed solution to this problem from Playfield Protectors - anti-glare translite and dot matrix display 'glass'. It's not real glass of course, but is actually made from an acrylic material and it is available for William/Bally and Sega/Stern translites, and DE/Sega/Stern dot matrix displays. Pinball News tested all three products in our own machines to see how effective they are in reducing reflections, how easy they are to install, and whether there are any unexpected side-effects. The pieces arrived well-packed inside thick cardboard with plenty of packing tape to ensure nothing got damaged in transit.
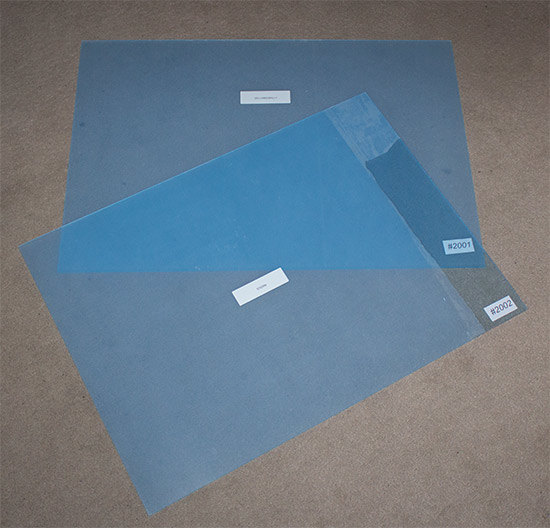
Inside were the two translite sheets - one for Williams/Bally games, and one for Stern games - along with two DMD covers for Sterns. Because the clear cover on Williams/Bally DMD games is integrated into the reflective front speaker panel, you can't just replace the clear DMD part on those games. We began by testing the translite sheet for a Williams game.
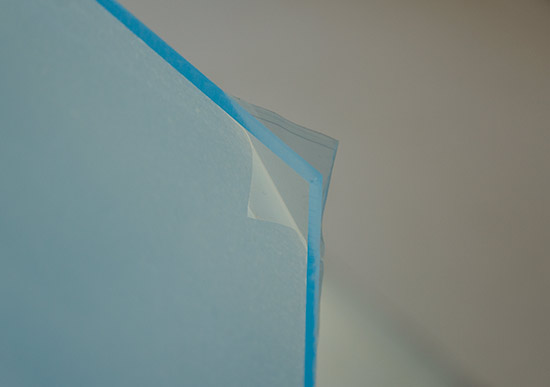
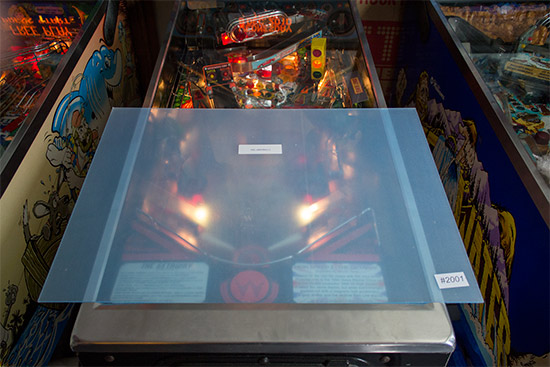
The blue colour is a little alarming at first, but it's only the colour of the protective film on one side of the sheet. The sheet itself is not tinted, nor is the protective film on the other side.
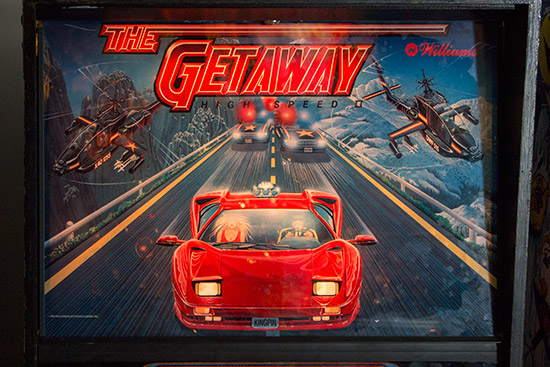
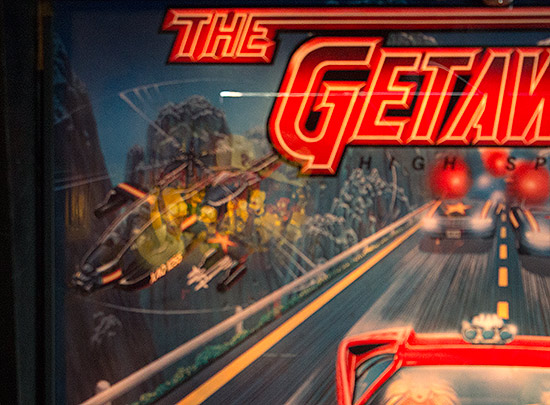
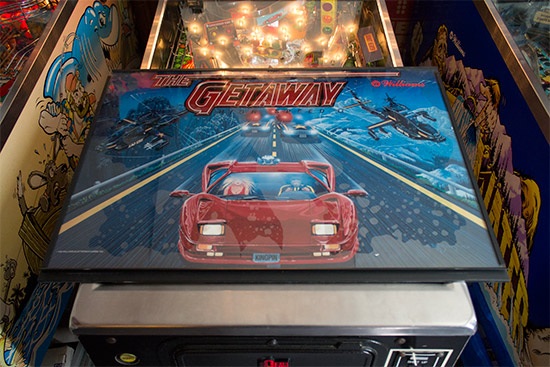
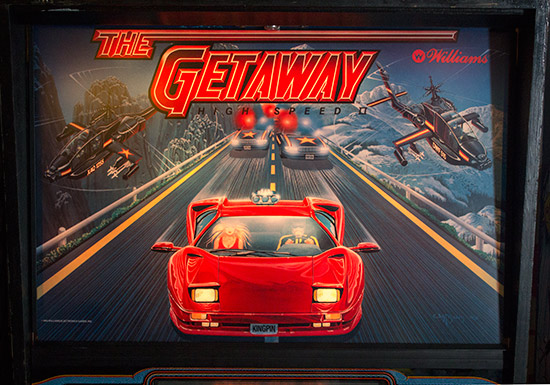
The sheet has two different sides. The side with the blue film is clear, while the other side is frosted and provides the anti-glare characteristics. Next we had to choose a test machine in which to install it. We chose a Williams High Speed 2 - The Getaway, since it is in the middle of a row of three machines, with another row facing it, providing plenty of reflections.
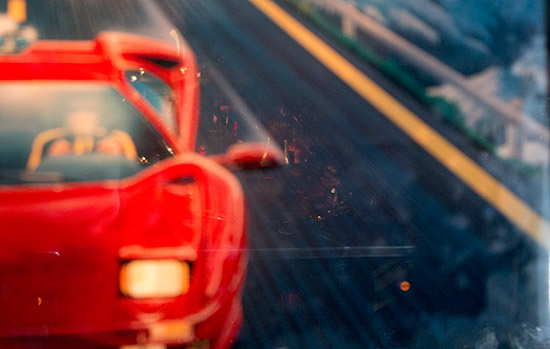
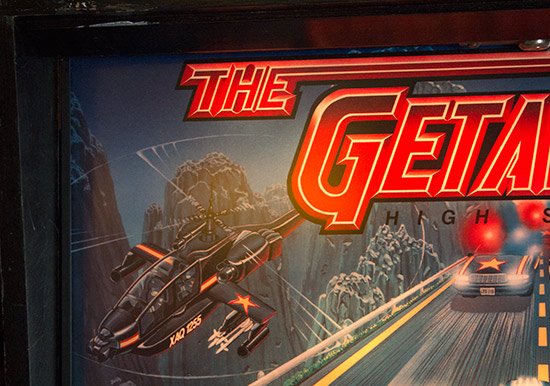
There are numerous reflections in the original translite cover, while the contact between the two parts is far from perfect, creating a bubbling effect.
It's worth noting we deliberately haven't enhanced the pictures above to illustrate the point, and the pictures were taken with the games in attract mode, not during game play when flashers would make the reflections worse. So we got the anti-glare translite sheet ready to install.
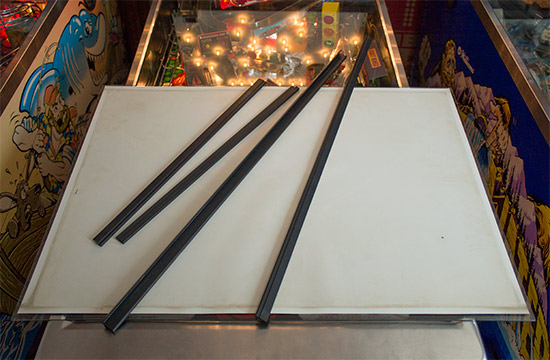
The existing translite comes out of the game, when the bubbling effect becomes more apparent.
First of all, the translite is flipped over and the edging strips removed.
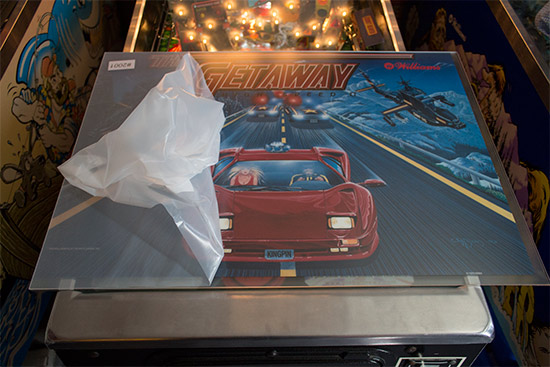
Seeing how dirty the translite was, now seemed a good time to give it a gentle wipe-down with some window cleaning spray. Then, with the original cover behind to prevent scratching, we removed the blue film from the clear side and placed it over the translite. Then it was time to remove the thicker front protective film.
It requires a little effort to remove it, but the film provides good protection and didn't leave any residue behind. We then re-fitted the edging strips to hold the translite in place.
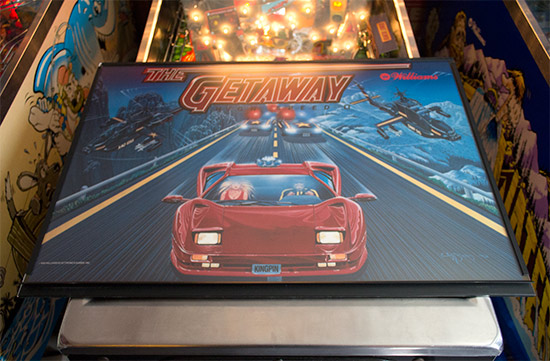
There are two things to note at this stage. Firstly, the translite image doesn't appear as clear as it did previously. The frosted front panel gives an even haze over the whole image which makes the dark areas appear lighter. We'd have to wait to see how this worked out when the panel is put back in its correct position in the machine to see whether this became a problem. Secondly, all the bubbling we had before had disappeared, which was an immediate improvement. The final stage was to test the translite in the backbox.
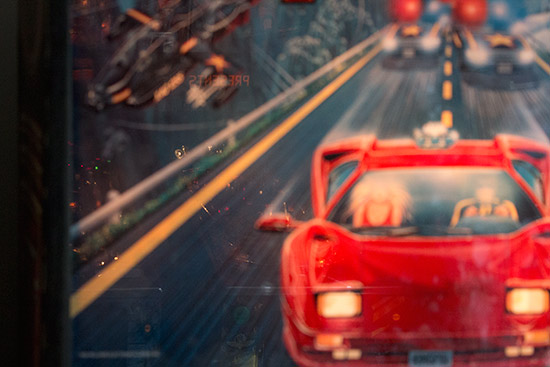
In this case the results speak for themselves. The image is clear and bright, and free from most of the reflections seen earlier. There is no evidence of the games opposite, and even the bright Simpsons family reflection has been reduced to a faint glow at the top left.
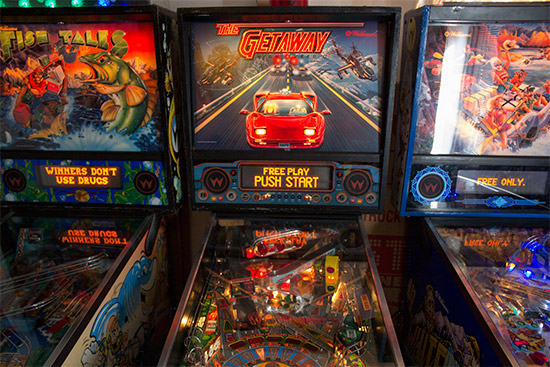
The haze which the anti-reflective coating produced was not apparent when the translite was illuminated, and although it is still there to some degree when the game is de-powered, it didn't prove to be an issue. The other effect of the anti-glare panel is to make the translite image look much more part of the game. Instead of the image appearing to be behind a sheet of glass, it now looks like it is printed directly onto the panel. It's a subtle difference, but it brings it forward slightly and looks more integrated into the rest of the game. Here's how it looks in a line-up of three machines.
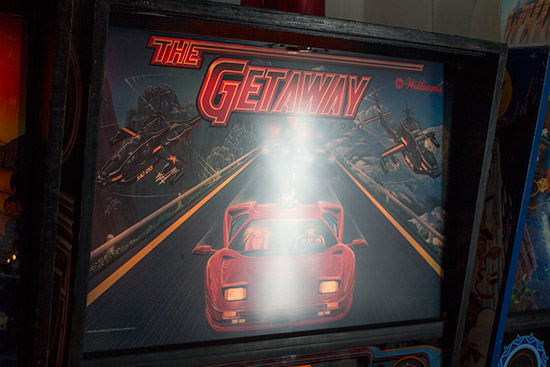
We also tested the new sheet with the same extreme light reflection seen in the Whitewater above, to see how it handled such a strong light source.
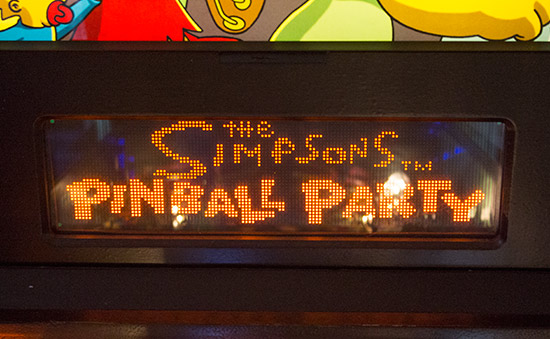
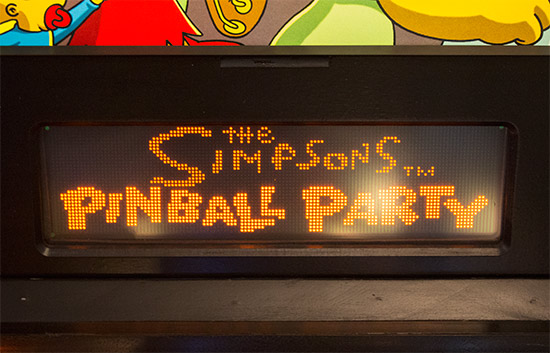
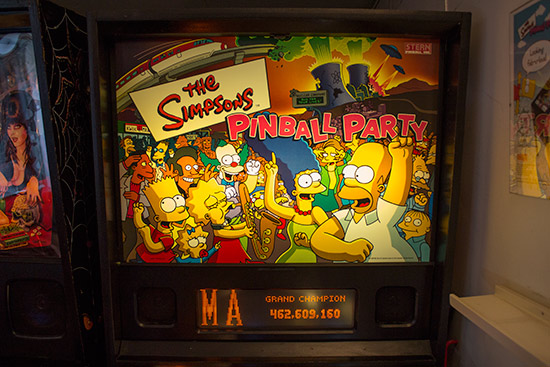
Although we're naturally skeptical about supposed improvements to areas we don't consider to be major problems, we have to admit the anti-glare sheet does produce a much better look to the translite. The integrated look, the lack of reflections and the elimination of the bubbling produce clear improvements and make the game stand out in a line-up for the right reasons. Spurred on by our success with the translite, we decide to tackle the dot matrix display panel on The Simpsons Pinball Party to see how effective the anti-glare cover was reducing reflections while maintaining a clear image. The Simpsons Pinball Party has a particular problem with reflections, as you can see below.
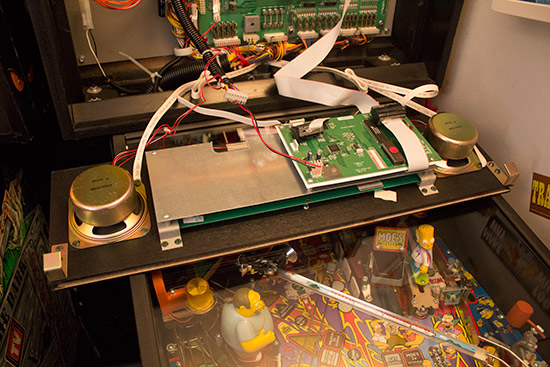
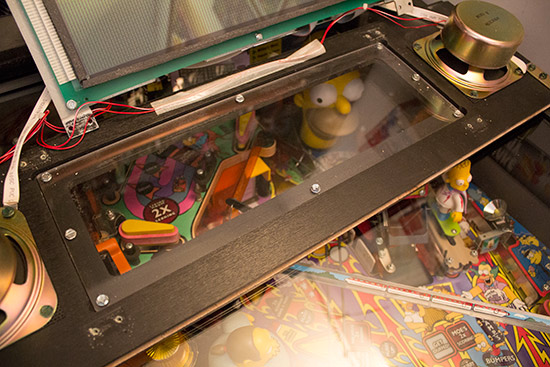
Replacing this panel is a little more involved than the translite sheet. First of all, we have to take out the speaker panel and remove the display.
This being an older, pre-SAM system, the display controller board is mounted on the back of the display, making the whole assembly larger with more connecting cables. To remove the display assembly, there are eight screws which have to be taken out - two on each corner mounting bracket. These, like all the screws found in this process have 1/4-inch heads, making a socket driver the preferred method of removal and re-fitting to avoid slips and scratches.
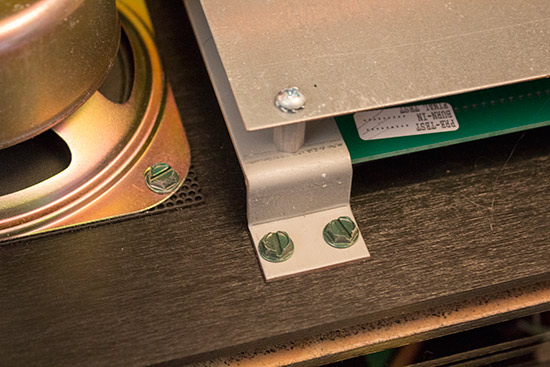
When the eight screws have been removed, the assembly should lift right off, yes? No. Not only do the mounting brackets stick to the black paint of the wood, the display itself has a foam surround which sticks to the panel. So although there's really nothing still holding it in, you need some gentle pressure to pry the display assembly away from the wooden speaker panel. Once it's out though, you can get to the display cover.
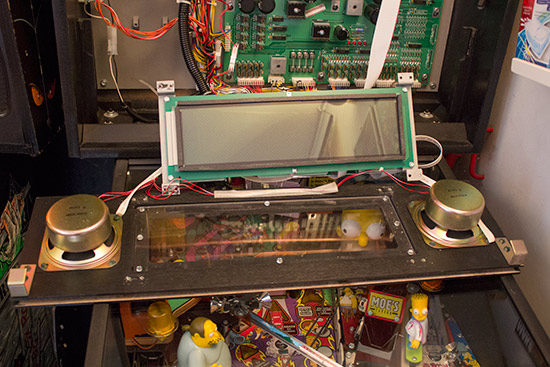
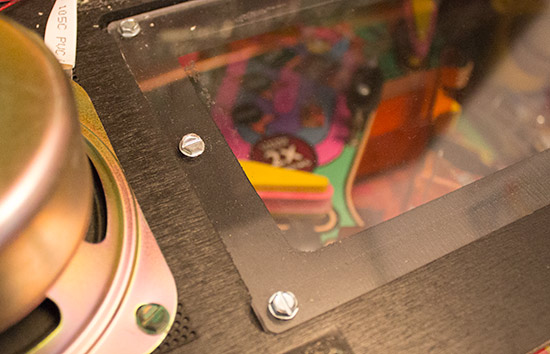
Removing the display cover is simply a matter of removing the eight securing screws around the perimeter and lifting it out.
These screws are much shorter than those securing the display assembly, and they are much less tightly fitted. Clearly, tightening them too much could crack the panel, so they are inserted quite carefully at the factory.
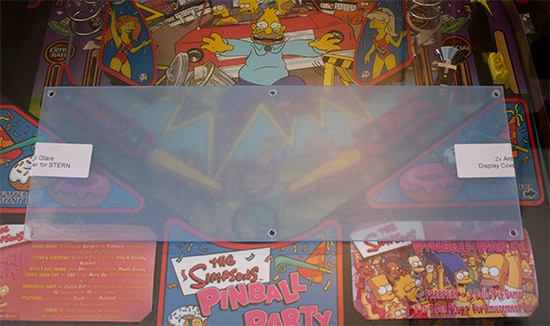
At this point you should do something we put off until a little later, and then had to go back to do. That is to fire up the vacuum cleaner and use the hose attachment to remove all the little wood chips which come out when you unscrewed the display assembly and the original display cover. You could probably use compressed air as well, but that just moves the particles somewhere random and we'd rather know where they are, so a vacuum cleaner is better. Vacuum all around the panel cutout and around the foam edging on the display itself too, as that also harbours dust and wood chips. Be careful with the display foam though, as you don't want to damage the display itself. With everything cleaned up we got the anti-glare replacement ready.
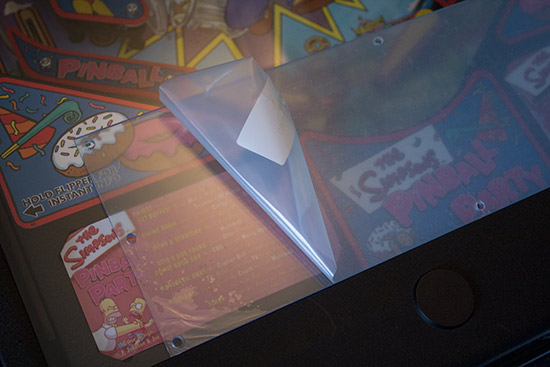
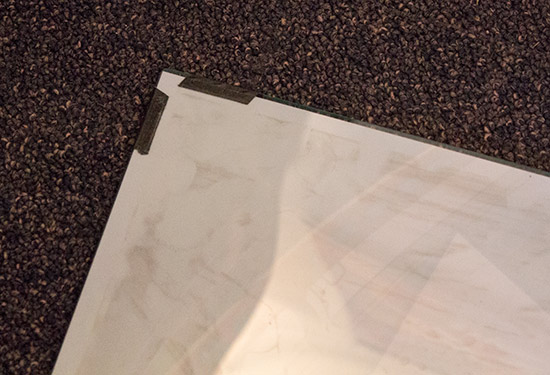
The protective film of the anti-glare side has to be removed first this time.
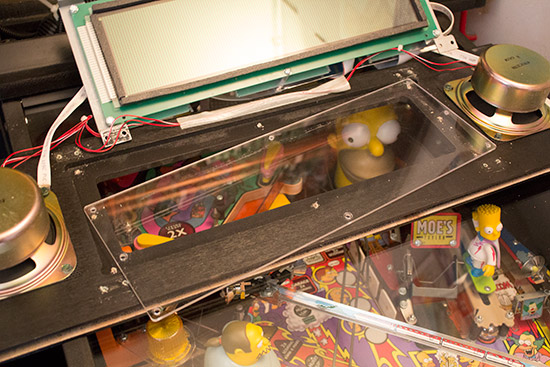
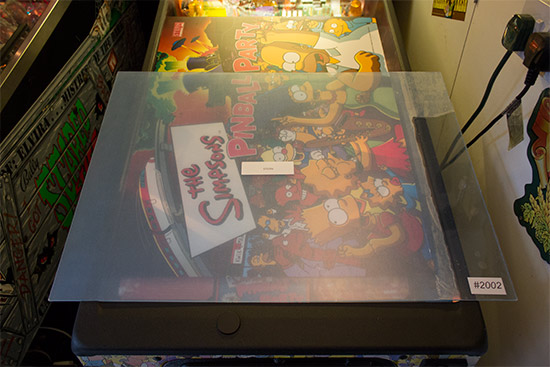
The cover can then be placed in position inside the speaker panel.
The protective film is still on the back at this stage, and we left it there as long as possible to help prevent any damage occurring during re-fitting of the screws. As mentioned before, don't over-tighten the screws or you risk cracking the cover. Once the screws are safely re-inserted, the protective film can be removed.
Then the display assembly can be re-installed, being careful not to scratch the new display cover or trap any wires under the mounting legs. When that is done, the speaker panel can be re-fitted in the backbox.
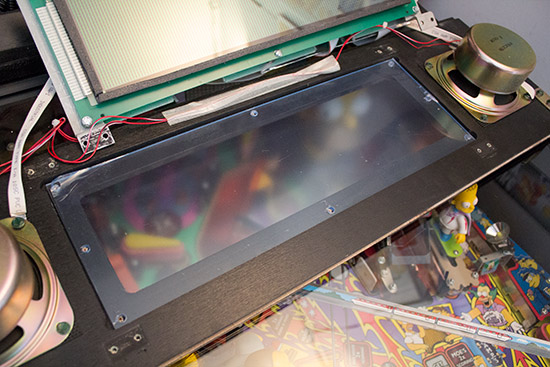
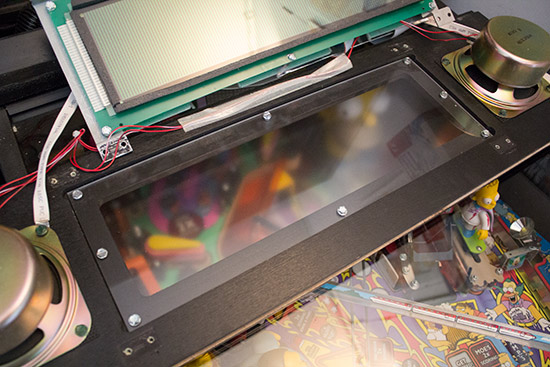
You can immediately see how the frosted front face reduces reflections and makes them much less defined. We powered up the game and compared the view with new cover to the original. As a reminder, here's how it used to look.
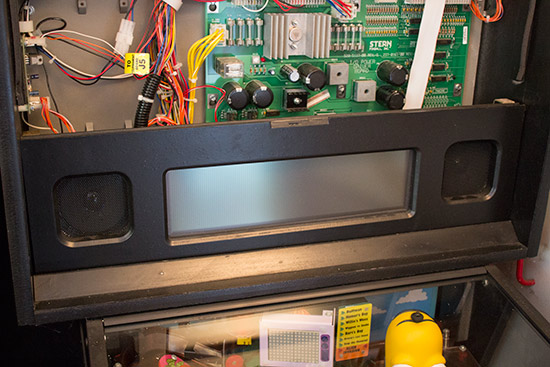
Here's how it looks now.
As you can see, minor reflections have disappeared completely while major ones are much reduced. This illustrates the worst case of course, and most of the time there are only minor reflections which are all but eliminated by the new cover. There's no loss of clarity either, while the frosted front surface helps to hide the display elements when the game is de-powered. While we had the translite out, we thought we'd also try the Stern-sized anti-glare translite sheet. First we took the original panel and removed the edging strips again.
At this point we discovered the difference between Stern and Williams translite mountings. While Williams edging strips just slide off, Stern secure their translites with black electrical tape at each corner and along the long sides.
This makes the edge pieces harder to remove and creates a sticky mess you need to carefully remove so you don't damage the translite. Finger nails do the job just fine, but it adds another 10 minutes to the process. When we had finished and reassembled everything, the edging strips were loose, so we'd recommend either leaving the tape on the translite and peeling it off the glass so you can refit it on the new panel, or - preferably - remove the tape from the translite and remounting the translite with new electrical tape. It's your choice but if you're re-using the tape you need to ensure you don't damage it too much when taking it off. Unlike their Williams equivalents, Stern translites don't have a shiny front surface. While this helps with their anti-reflective quality, it also means they don't cling to the translite sheet by themselves. So having the edging strips fitting tightly is more important.
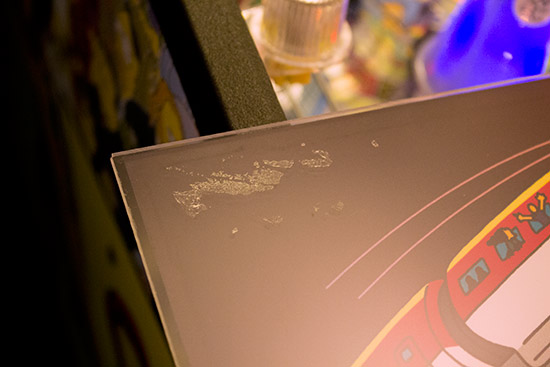
The front film on the Stern version didn't peel off quite so cleanly, leaving behind some sticky residue in the top left corner.
We tried some window cleaner to remove the gunk, but that was ineffective. However warm soapy water rapidly took off the adhesive, allowing us to fit the translite panel back in the machine.
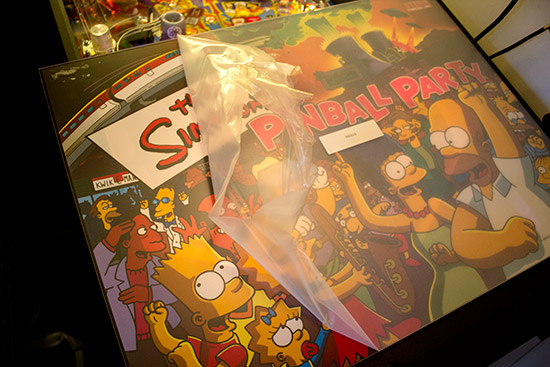
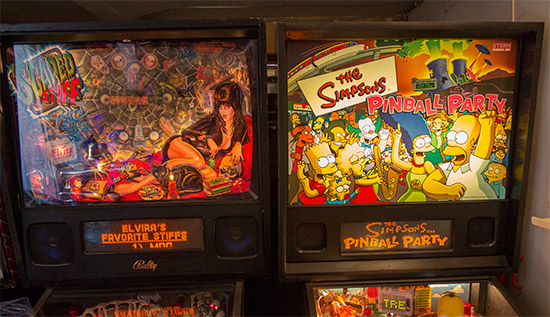
Once again, we can compare the machine with the unmodified Scared Stiff on its left.
The same properties found on the Getaway are evident on the Simpsons. The translite looks much more integrated, like it is printed directly onto the surface of the translite sheet and not on a sheet behind. The anti-reflective quality is highly effective in eliminating lights from games opposite and creates an evenly-lit, bubble-free image. The frosted nature of the front face means the anti-glare material is not suitable for games with transparent areas in the translite - Scared Stiff, for instance - or real glass backglasses, but for all the others it produces a clear and attractive finish, while significantly reducing those annoying reflections. The anti-glare sheets are available from Best of Pinball in Germany. The translite sheet is available for either Williams/Bally machines or Sega and modern Sterns at a price of €39.90 (£31.92/$51.13) plus postage, while the DMD covers for DE/Sega/Stern are half that at €19.95 plus postage.
© Pinball News 2012 |