|
|

|
SIX FEET UNDER
|
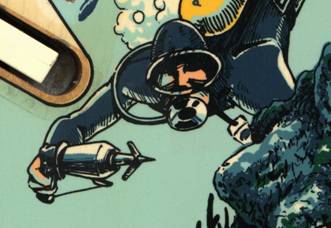
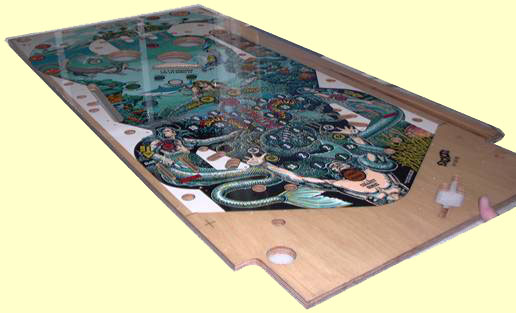
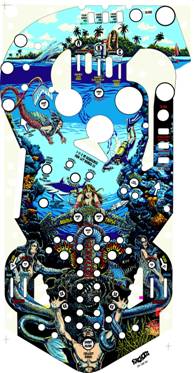
| One of the great independent reproductions of recent times has been the new run of Fathom playfields by Halifax Pinball. In this article, Greg Walker describes how the project - his first playfield production - began, how it progressed and how the final product turned out.
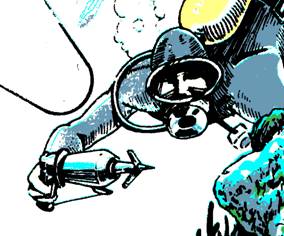
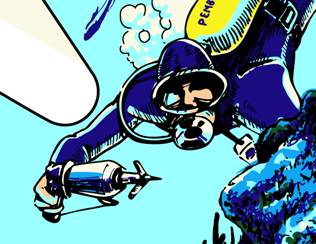
The Fathom playfield project started out about 1998. In fact it didn't really start with Fathom at all. A while later I heard about this Fathom playfield. I looked at the playfield and thought it was really quite the work of art. I arranged to get a copy of the playfield scans from Louis Raymond. He sent me a set of disks that had the pieces of the image on it. I used software to stitch all the pieces together and then started to edit the image as I did previously with Photoshop. The work was going along smoothly until one day when I read an article about vector graphics. I immediately knew what I had to do. I went back to the original image and started over using Illustrator. The difference was remarkable
I found the work very relaxing and would sit up all night some times working on a section. But it was getting time to figure out what to do with this work. I started to discuss the idea of making a reproduction playfield with my good friend Mike Purcell. He of course told me I was crazy (maybe true) but as I started to put the pieces together he started to come around and see that it was possible. Mike began to help out with some leg work. As I was working days it was too difficult for me to get things done during business hours. I decided to call up Gene Cunningham and discuss the project with him. Gene was not only onboard with the idea but offered up the original artwork films. All that work to produce the Fathom artwork and I never actually used the file unbelievable.
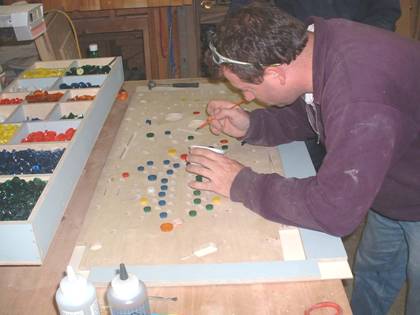
The inserts come from Foremost Plastics, just as the originals did. In
fact, these inserts were made in the same mold as the originals. As far as
original colors, well there are some real misconceptions about the colors of
these things. The originals varied in color just as the new ones do. The
variation is due to the fact that the plastic beads that are used are all
hand mixed. Also, the inserts are put into the playfield and then sanded The heat of the sanding as well as the final thickness and grain can vary the color of the inserts significantly.
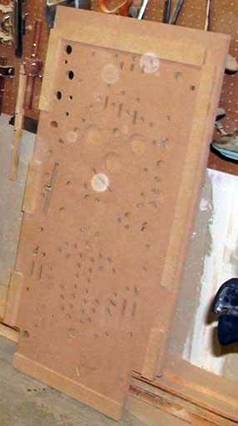
Just as interesting, the color on the playfield itself. We argued on RGP and
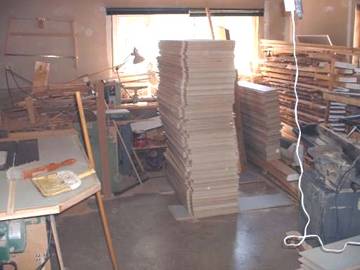
played with colors for such a long time. I was in contact with Greg Freres Original is a pretty relative term. At this point I was getting pretty busy with my day job. It was time for Mike to step in and keep the project moving. We transported all the playfields to his house and the gluing began. Another monster effort as each playfield takes about 20 minutes to glue.
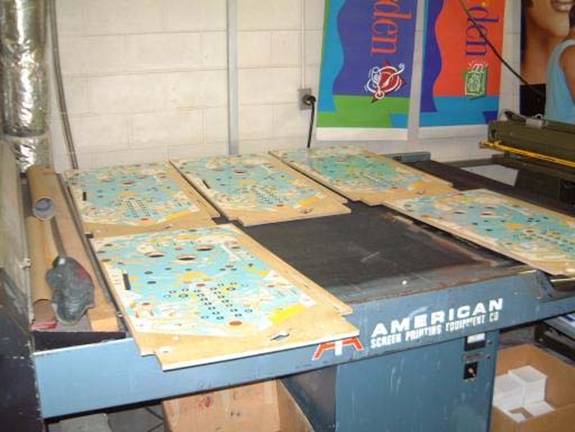
Once that was done the playfields were put through a drum sander so the inserts were level with the playfield. Then some palm sanding to clean them up and a few coats of Varathane to seal them up.We were ready to put some paint down. For this the playfields traveled to a professional screen print shop who could handle the huge task.
The printing was a little nerve racking. I was making trips to the printer every chance I could to see how they were doing but I didn't want to get in the way. These guys knew the passion I have for the project and they took all the care they could to do it justice. Then, just as they were finishing up, I had to go away for work. I work on a ship and it was time to hit the high seas. Mike boxed up the playfields and my wife handled the final administration. It was torture for me to be away at that time. Once they all were inked, they received a few coats of clear. The original playfields did have a clearcoat on them. Without it, the
artwork wouldn't survive more than a few months. But that clearcoat can be
applied as a layer of the screen printing rather than sprayed on. That is
how they get it on without gumming up the rollovers. (sneaky eh?) I choose
to use a shop that was adjacent to the screen printer to spray two coats of Then they were boxed up ready to ship out. The end result was everything I could ask for.
The plan was to make 100 playfields plus some that I made for Gene as part of the agreement. To add to this number I was allowing for rejects. I'm an engineer in the navy and I have dealt with quite a bit of project management. This was all probability and statistics. The target number of 100 was chosen simply because I presold all the playfields with an order list. I was doing this to learn how and to prove it feasible, not to get That number was hard to deal with because it made for a lot of material to move around, but it was also the magic number
for cost effectiveness. Smaller batches are preferable for marketing but
quantity price breaks are what make the projects possible. That is why When it was time to ship the playfields, they were scattered all over the planet. For ease of pricing I had chosen to charge a flat rate for the playfields that included the shipping and handling. This turned out to be near free playfields for a few guys but what the heck. Small price to pay to get my product to the entire globe. I had several orders from Nigeria who had paid for the playfield and had added huge bonuses to say thank you... The only playfields that were held back were the ones I kept for my own The last Fathom playfields are out the door. I still wonder what to do with the reproduction artwork that I keep on a DVD in my office. Perhaps some day I'll be able to do some special editions. I really want to cut one in clear pexiglass and do a few tricks to light it from underneath. I think that would really make the artwork stand out. Realistically though, I'll have my hands full now. I'm working with Gene and Wayne and the intention is to make playfields available for as many games as possible.
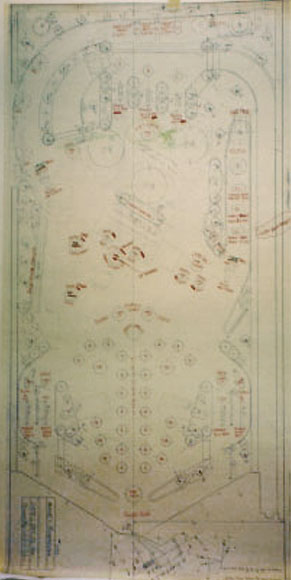
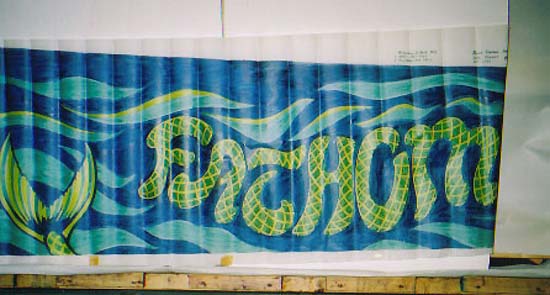
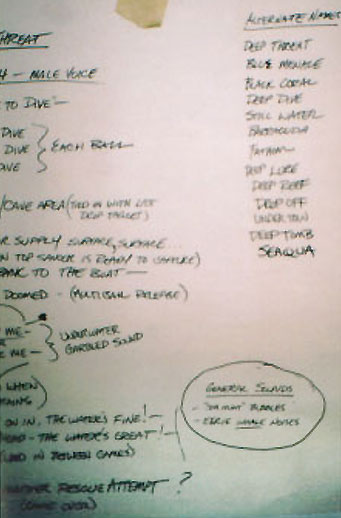
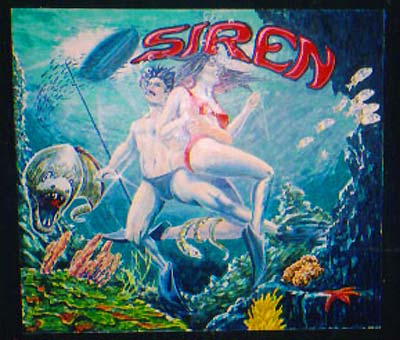
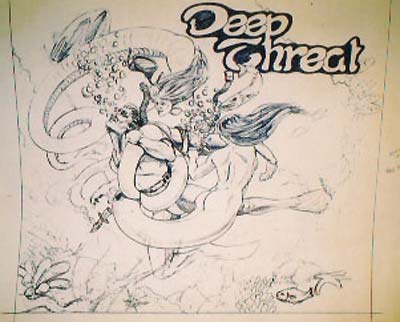
Hope you enjoyed the story of this project and I hope to soon be bringing out more playfields. Greg Walker HalifaxPinball I loaded a large batch of pictures onto an online hosting site. The site is www.clubphoto.com and the pictures are under the username [email protected] In addition, Greg sent Pinball News some images of the other original material he was able to access, including this playfield diagram, this cabinet side artwork, and this list of quotes and alternative names for the game. And speaking of alternative names, here are some which went further than just appearing on the list.
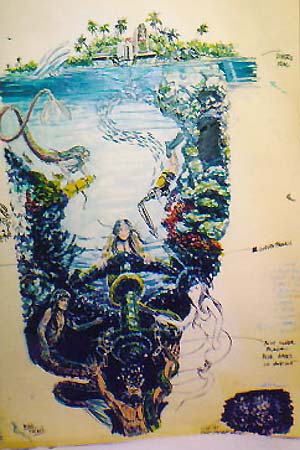
And finally, there's this early design for the playfield artwork. Greg produced some excellent work with is first project and it was well received by those who bought the playfields. We can now expect a number of similar products from Halifax Pinball and at long last we should have a supply of quality playfields for popular games starting to appear on the market. Pinball News will keep you updated as and when they become available.
|