|
|

|
PUT BACK
THE KICKBACK |
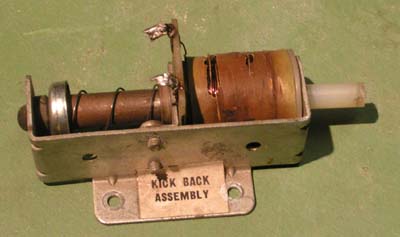
| Not content with his article for Pinball News on memory testing, Leon from Belgium's Flipper-Pinball-Fan website has been working on perhaps the final modification to Scared Stiff to replace the features left out during production. Here, he tells us all about it and how to make it for yourself. If you've got one of these games, this mod is a must. And you get an added bone-us too! During manufacturing most pinball machines had some extra "gadgets" which at the end, because of production costs ,where omitted. If there is one machine in which a lot was left off after some prototypes were made, well it is Scared Stiff. The list of things that were no longer on the machine is; no "glow in the dark" bones, no boney flippers, no dancing boogie men, no eyeball shooter, no lit eyes on the deadhead pile, and no kickback at the left outlane. All these "gadgets" are available on the internet at different sites except the kickback feature. The main reason is that the software to control the kickback is lost. Several pinball fans did look for it but never found it anywhere. Also the reason why the kick back was not installed is that there were no more solenoid driver transistors on the board available! Instead a workaround solution was adopted using the software. When the lamp at the left outlane (SPELL) is on and the ball drains that way, a new ball is served and shot into the playfield by the auto-plunger. The consquence of that is by re-installing the kickback there will be a two ball multiball if the kickback is enabled. The ball that drains will be brought back on the playfield by the kick back, and at the same time a new ball is launched on the playfield by the auto-plunger. I found the extra two ball multiball a nice feature and worked out a solution to re-install the kickback on my Scared Stiff. It is not too difficult and the average handyman can certainly build this mod. How and what The first thing we need is the kickback assembly, either from an old machine or a new part.
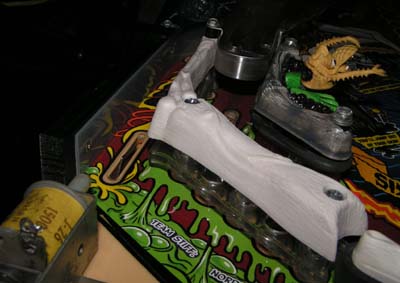
The assembly I used was and old one with burned coil. Of course the coil was replaced! A second difficulty! The outlane is not at all suited to guide a ball back into the plalyfield. There are some posts at the entrance of the outlane which prevent a ball being kicked back. We need to change some things here to create a smooth lane that is suitable to bring the ball back on the playfield. There are three posts at the entrance of the outlane. We remove two of these - the first is a movable post the second is a fixed post and from the one nearest to the three ( SPELL) targets we remove the rubber sleeve.. After that, we install a small flexible plastic strip going from the kick back to the post with rubber sleeve removed. Some photo's will clear that up.
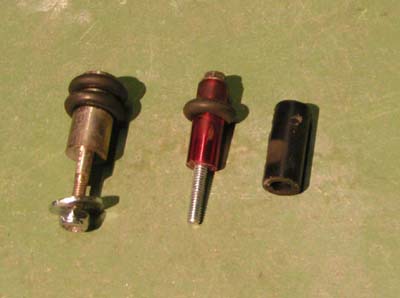
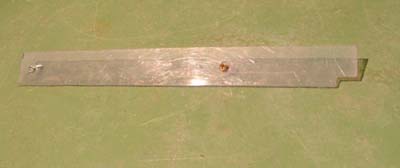
These are the two posts that were removed. The sleeve comes from the post next to the targets. Next photo is the plastic strip used to create a smooth path out of the outlane.
Dimensions are 1.1 inches high and 9 inches long . A small amount of the right corner is cut away so it fits nicely on the post that has his rubber removed. (see below)
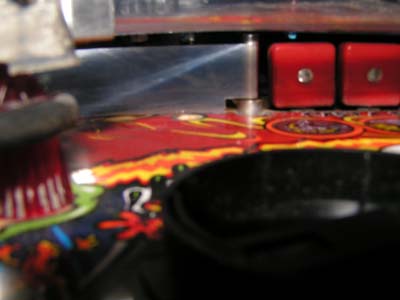
The plastic strip is resting against the post.
The plastic strip runs along to the kick back. Use two small screws to fix it against the wooden side rail.
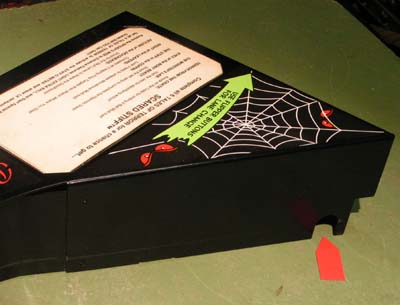
The kickback hole is already present , nothing to do here! How are things connected?
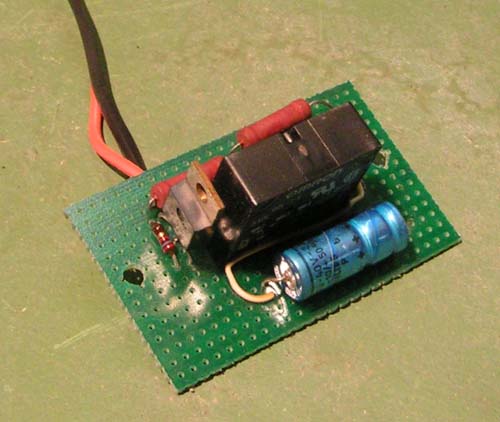
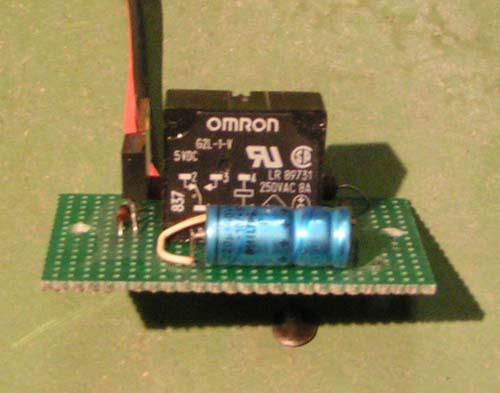
A small self-made board and 7 components are all that are needed to make the complete circuit and finish the project. If you would like to build this mod you can get the circuit diagram and component details for the kickback at the flipper-pinball-fan.be website. Many thanks to Leon for this desirable modification to a great game and the bonus of a free Spell Multiball.
|