 |
|
|
|
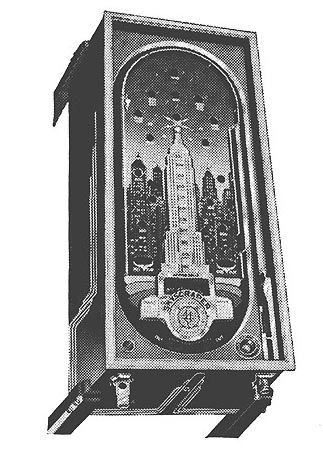
In this article, Todd "Pinted" Andersen, President of the TCFPA looks at the history of pinball lighting, when it was introduced, how it affected pinball and the various types of lamps in use today. History In the 1930s, companies like: A.B.T, Lindstorm and Gottlieb were all significant contributors to the, then, fast moving world of pinball. But, Bally probably produced the first game with a light on the playfield. That game, produced in 1934, was Skyscraper. With is single lamp, powered by a single dry-cell battery, this game helped distinguish itself from its competitor's games. And, it was a major step in moving away from the simple, flipper-less bagatelle towards what we now consider the modern pinball machine.
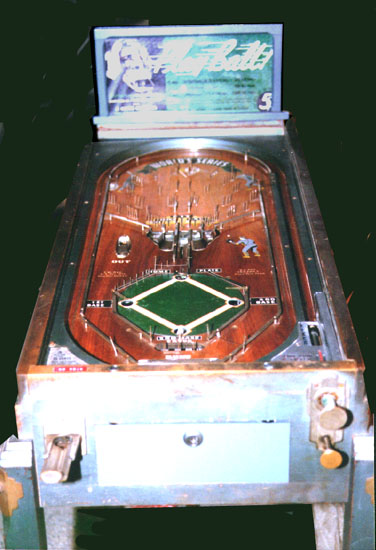
During the 1930s and through the 1940s, there were at least a dozen different companies producing pin-games. They were each trying to draw attention to their game. To do this, they started building games with more colourful and complex playfields. The title of a popular magazine from that time, Ballyhoo, is also a term meaning noise and excitement. Game manufactures were trying to, literally, cash in on the excitement that playing one of these, usually little counter-top, games provided. In turn, the owners of: drug stores, gas stations, and grocery stores, by purchasing these games, were trying to do the same by having their customers pay-to-play. Thus, the coin-op industry was born. As with any fledgling industry, the first one out of their door with a good product would probably, on name recognition alone, have the lion's share of the market. Even though they are no longer in business, you probably recognize the Gottlieb name from above. There were no standards to prove which game was best. Instead, there were more and more innovations. For instance the modern Backbox was originally just a small advertising or instruction card mounted away from the player on the far side of the game. The 1934 Worlds Series, made by Rock-ola, was a game with an example of such an innovation.
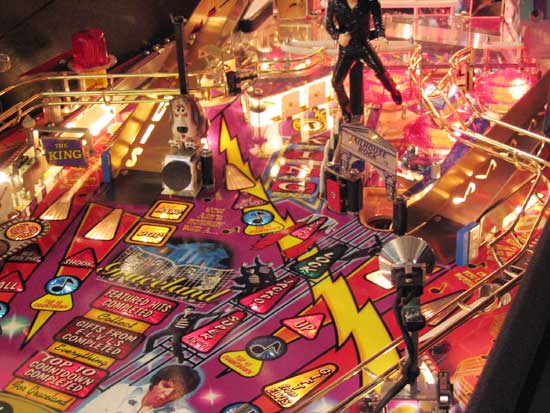
By 1935, Bally produced Rocketlite which is probably the first game to use a small, lit backglass, mounted in a backbox, to show the player's score. Today's machines use miniature lamps in almost every conceivable spot on the playfield.
|
| Lamp Number | Voltage | Amperage | C P | Base | Bulb |
| #44 | 6.30 | 0.25 | 0.90 | BA9s | miniature bayonet T 3 1/4 |
| #47 (*) | 6.30 | 0.15 | 0.50 | BA9s | miniature bayonet T 3 1/4 |
| #51 (**) | 7.50 | 0.22 | 1.00 | BA9s | miniature bayonet G 3 1/2 |
| #455 (#44 blinking) |
6.50 | 0.50 | blink | BA9s | miniature bayonet G 4 1/2 |
| #67 (*) | 13.5 | 0.59 | 4.00 | BA15s | S.C. bayonet G 6 |
| #89 | 13.0 | 0.59 | 6.00 | BA15s | S.C. bayonet G 6 |
| #147 | 7.00 | 0.43 | 2.00 | W2.1d | wedge T 3 1/4 |
| #159 (* & **) | 6.30 | 0.15 | 0.34 | W2.1d | wedge T 3 1/4 |
| # 555 | 6.30 | 0.25 | 0.90 | W2.1d | wedge T 3 1/4 |
| #545 (#555 blinking) |
6.50 | 0.50 | blink | W2.1d | wedge T 3 1/4 |
| #161 (*) | 14.0 | 0.19 | 1.00 | W2.1x9.5d | wedge T 3 1/4 |
| #194 | 14.0 | 0.27 | 2.00 | W2.1x9.5d | wedge T 3 1/4 |
| #199 | 12.8 | 2.25 | 32.0 | BA15s | S.C. bayonet S 8 |
| #1073 (*) | 12.8 | 1.80 | 32.0 | BA15s | S.C. bayonet S 8 |
| #1156 | 12.8 | 2.10 | 32.0 | BA15s | S.C. bayonet G6 |
| #906 (*) | 13.0 | 0.69 | 6.00 | W2.1x9.5d | wedge T 1 1/2 |
| #912 | 12.8 | 1.00 | 12.0 | W2.1x9.5d | wedge T 1 1/2 |
| #1251 (*) | 28.0 | 0.23 | 3.00 | BA15s | S.C. bayonet G 6 |
| #1683 | 28.0 | 1.02 | 32.0 | BA15s | S.C. bayonet S 8 |
(*) Cooler running, recommended for longevity of game.
(**) Recommended for use in pop bumpers.
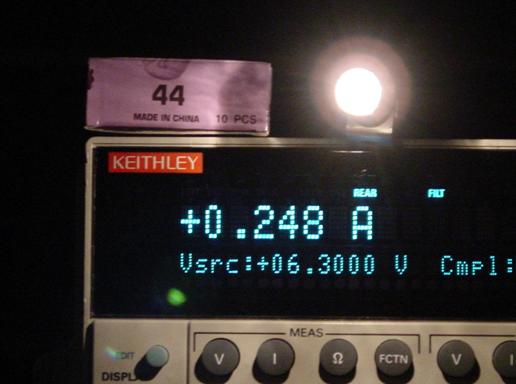
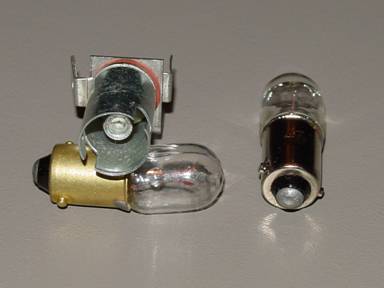
This #44 bulb draws about 0.25 Amps.
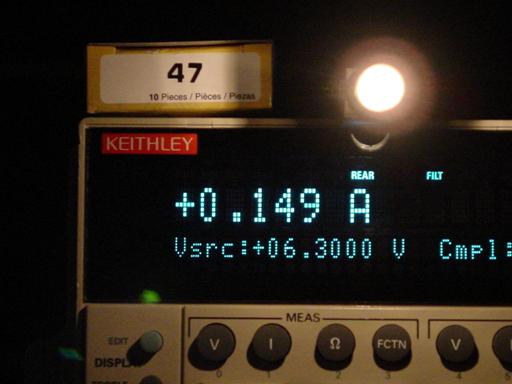
This #47 Bulb draws only about 0.15Amps and is only marginally dimmer.
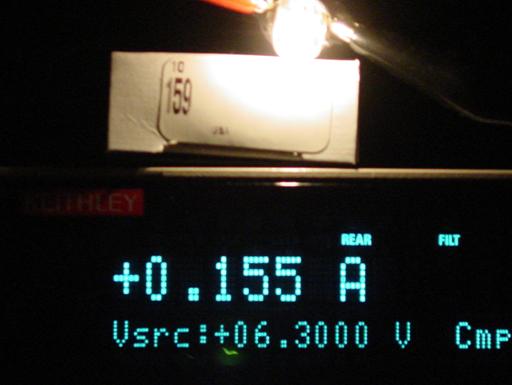
This only slightly less bright #159 bulb only draws about 0.15 Amps.
Physics
Form an electrical standpoint; lamps are designed to operate at particular voltage. When the correct voltage is applied to a lamp, the filament consumes electrical current. Typically, the greater the current, the greater the brightness and heat generated.
As stated earlier, automotive lamps are manufactured to handle more physical stress than other lamps. And, when operated on a pinball machine they consume less current; therefore producing less heat than other lamps. This makes some of them a good choice for substitutes to conventional pinball lamps.
Rated Characteristics (OEM specifications)
| Lamp Number | Voltage | Amperage | C P | Base | Bulb |
| #74 | 14.0 | 0.10 | 0.70 | W2.1d | wedge T 1 3/4 |
| #161 | 14.0 | 0.19 | 1.00 | W2.1x9.5d | wedge T 3 1/4 |
| #194 | 14.0 | 0.27 | 2.00 | W2.1 x 9.5d | wedge T 3 1/4 |
| #906 | 13.0 | 0.69 | 6.00 | W2.1 x 9.5d | wedge T 1 1/2 |
Operating Characteristics (while in a pinball machine)
| Lamp Number | Voltage | Amperage | C P | Base | Bulb |
| #74 | 6.30 | 0.45 | 0.35 | W2.1d | wedge T 1 3/4 |
| #161 | 6.30 | 0.09 | 0.50 | W2.1x9.5d | wedge T 3 1/4 |
| #194 | 6.30 | 0.12 | 1.00 | W2.1 x 9.5d | wedge T 3 1/4 |
| #906 | 6.30 | 0.33 | 3.00 | W2.1 x 9.5d | wedge T 1 1/2 |
Though the replacements and substitutes in the two charts (above) produce less light than the original lamps, the difference is not very noticeable. The inverse squared rule of illumination states that a lamp will give off X - amount of light, at X - distance. And that lamp, with the same voltage applied, will give off (1/X) * (1/X) amount of light at 1/2 that distance. For example, you can measure 0.90 CP at 1 foot away from a #44 lamp. At 6 inches the same lamp gives off 1.23 CP. The difference is a minimal 0.33 CP. This is why a #44 and a #47 lamp seem to have similar brightness in a direct side-by-comparison. In fact, the perceived difference is the cast. The #47 lamp will appear to have only a light orange hue when compared to a #44 lamp.
The #47 bulb on the left and the brighter #44 on the right.
(A longer exposure was used to exaggerate the differences in brightness.)

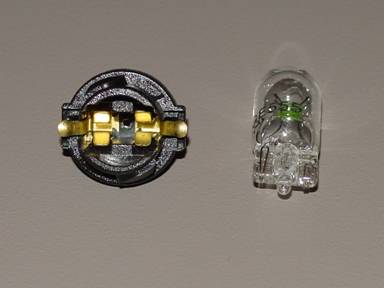
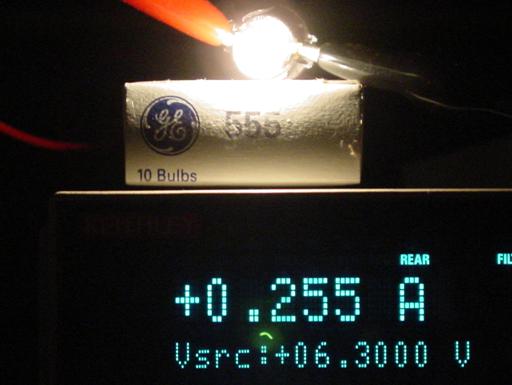
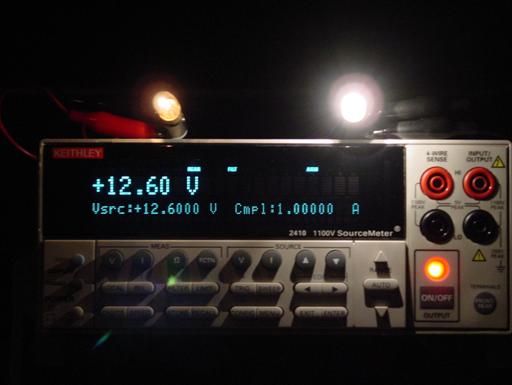
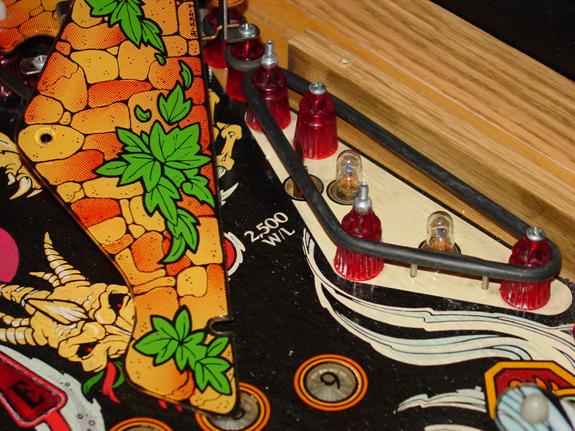
The #159 bulb on the left and the brighter #555 bulb on the right.
(A longer exposure was again used to show the differences in brightness.)
Removing
To remove a burned out lamp from the top of the playfield, first you must get to the lamp.
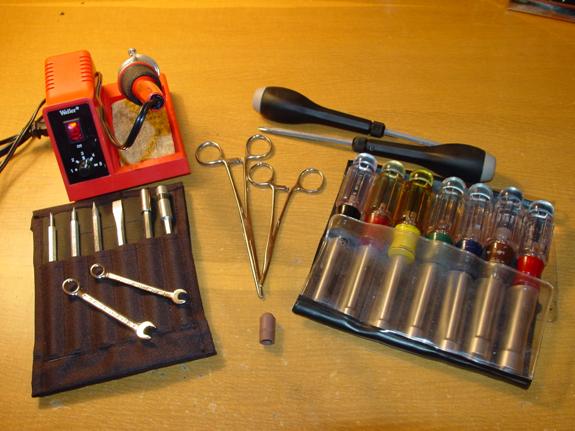
Here is a list of tools commonly used when changing lamps in a pinball machine:
- Nut Driver Set
- Standard Screwdriver Set
- Phillips Screwdriver Set
- Open End Wrench Set
- Set of Hemostats
- ESD safe, temperature-controlled soldering iron with selectable/replaceable tips
(Note: The author strongly recommends hemostats in every pinball repair tool kit!)
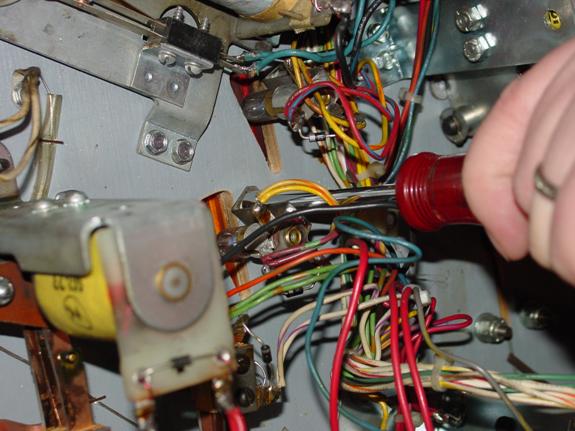
Other tools may be needed but here is a helpful hint. An old plunger tip can be useful in the removal and replacement of smaller pinball lamps.
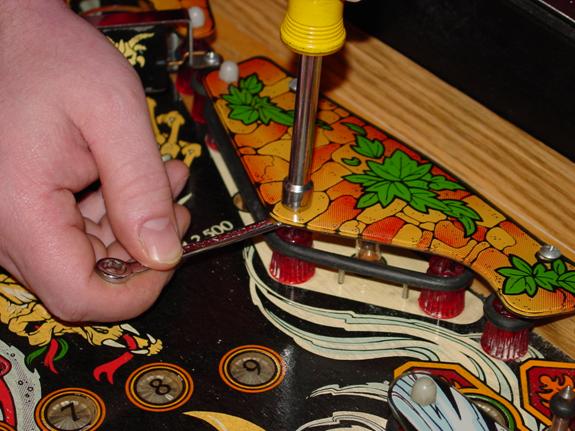
You may have to remove some PF parts/plastics first.
Here is another tip. A 1/4 open-ended ignition wrench is thinner than its standard counterpart. Its thin design helps keep the posts from spinning.
Now we can easily get to the lamps.
Installing / removing lamps from the bottom of the PF may require the removal of even more parts.
There is one more thing; never touch the lamp with your bare fingers. On contact, the oil from your skin will transfer to the lamp and the acidic oil can corrode the electrical connections. This oil will also form a heat sink on the bulb. This hot spot will cause early End Of Life (EOL) for your lamp. You don't want to go through all of that work just to change the lamp again do you? If you touch the bulb with bare fingers, wipe it with window cleaner or better still, use isopropyl alcohol.
Lamp sockets may also have to be replaced. You can use the same tools that you used to replace lamps. I don't recommend the use of socket sticks I recommend simply replacing the bad or intermittent socket.
Warning
When working on a pinball machine, never perform any work - including just changing a light bulb - when the game is powered on.
Notes
Unless otherwise noted all: charts, diagrams and pictures courtesy of Pinball Renaissance - TCFPA.
Also unless otherwise noted, all pictures taken with a Sony 3.3 megapixels MVC-CD300 digital still camera set to take fine pitch JPGs in auto/inside/macro mode.
![]() Back to the learn page
Back to the learn page
 Back to the front page
© Pinball News 2004