|
|
PLAYFIELD PROTECTOR |
Date: 25 March, 2013 So you've got this playfield in your game. It's in nice condition, but pinball being pinball, sooner or later that heavy steel ball is going to fly around the playfield, inserts will break or sink, the surface will get scratched and you may get damage from kickouts or ramp drops. Which is why game manufacturers stuck Mylar to the playfield. Some companies only put it in high traffic areas, some covered almost the entire playfield with it. It helped protect the playing surface, but at a cost. Over time it peeled, affected the ball's movement, discoloured, and acquired a dull finish. Restorers then want to remove it, but the strong glue used to stick it to the paint either left behind a sticky residue, or worse, removed some of the artwork with the mylar So what to do?
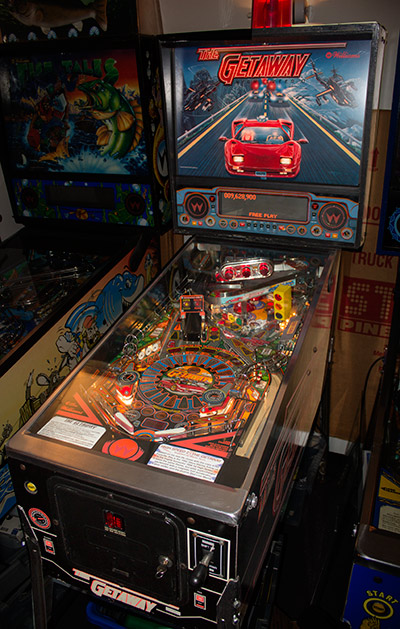
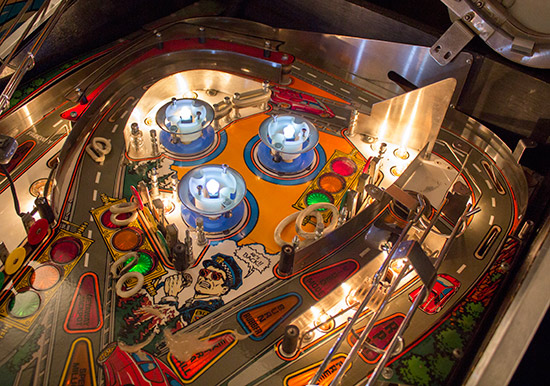
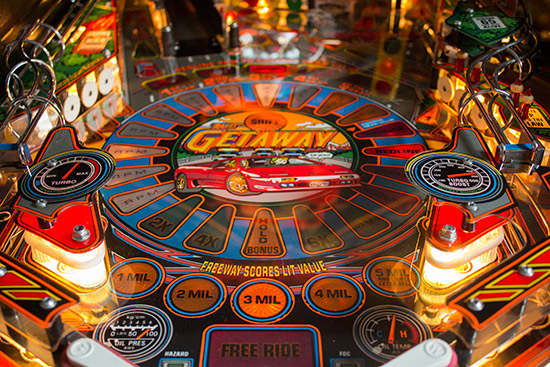
The answer from the company Playfield Protectors is simple; put down a thin layer of clear protective polycarbonate material over the playfield, and not only will it protect the playfield, it will give it a glossy clearcoat-like finish too. To find out more, we installed one ourselves. Our test machine was our trusty High Speed 2 - The Getaway , a veteran of Pinball News game mod reviews.
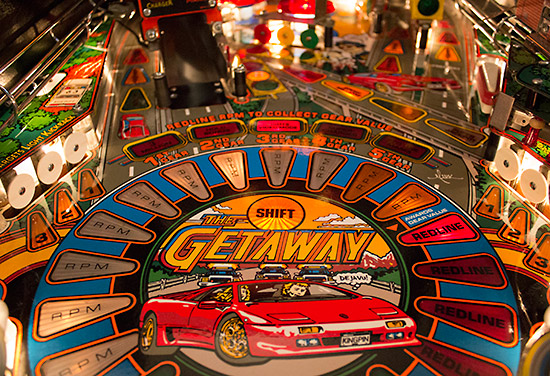
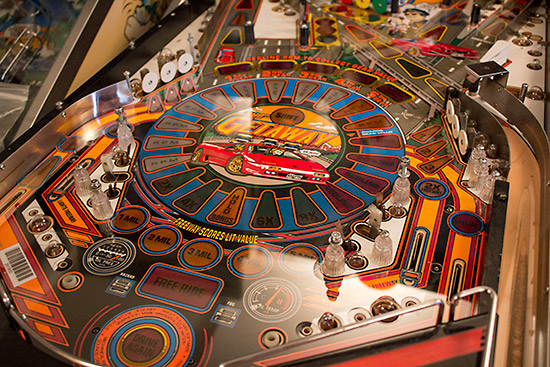
Although the machine had been to many pinball shows, the playfield was still in really nice condition. It may have needed a bit of a clean, but all the inserts were flat and it was certainly worth protecting from any damage.
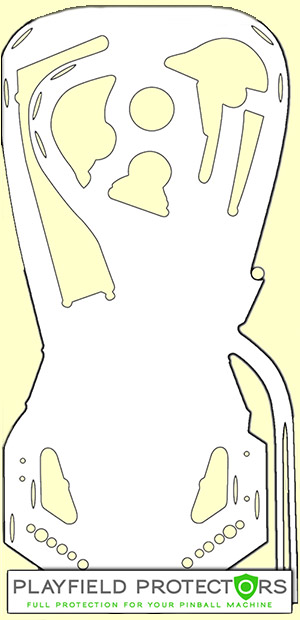
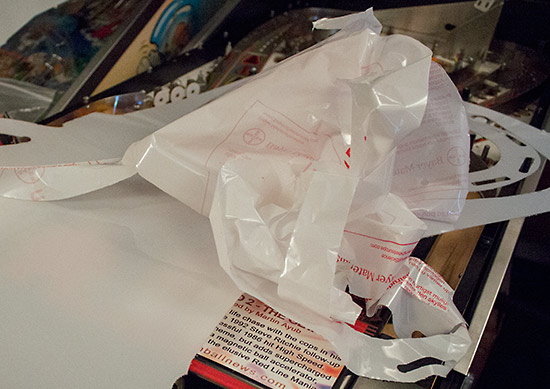
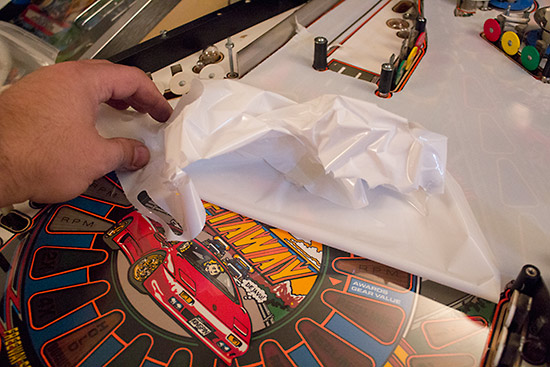
The playfield protector arrived sandwiched between two large cardboard sheets and stuck to the inside of one of them using masking tape.
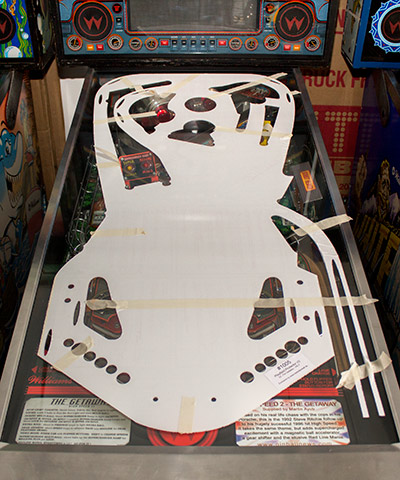
This tape prevented damage in transit from movement, but made the more fragile sections tricky to remove. Once we had successfully separated it from the packaging, we laid it on the playfield glass.
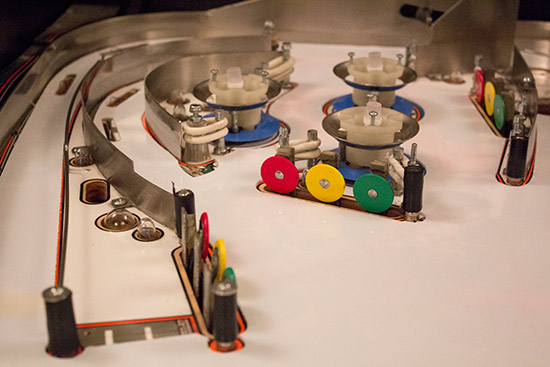
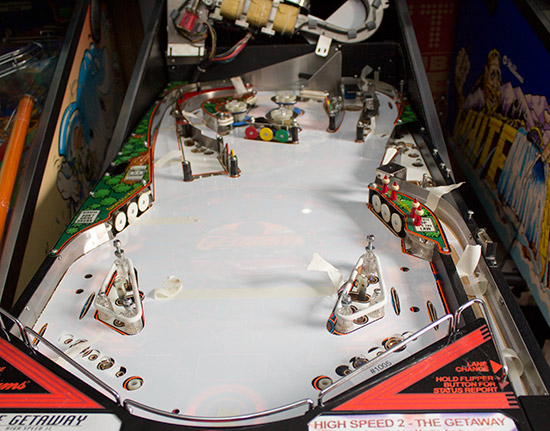
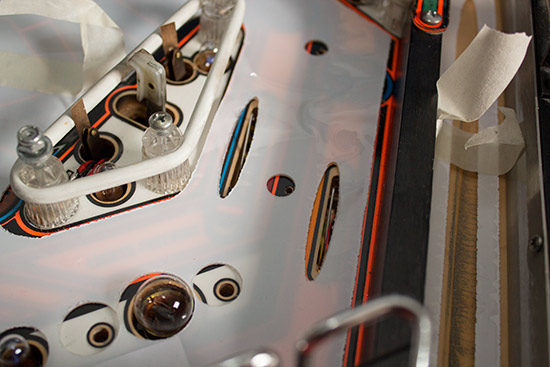
The clear overlay appears white at this stage because it has a protective white film on both sides. To install the protector, the playfield needs to be partially stripped down. Exactly how much needs to be removed depends on the model you are using, but you need to be able to lay down the protector on the playfield surface without any obstructions. So out come the socket drivers, screwdrivers and hex keys to remove the supercharger, the plastics, the bumper caps, the flippers and assorted other parts to give full access to the playfield's surface.
The whole disassembly and reassembly process could be completed in a couple of hours, but once you start taking off the playfield parts you'll probably want to give them a thorough clean before reinstalling them. That's when the time needed expands considerably. In our case, we fired up the tumbler and put in the metal parts for a couple of days. We also washed down the plastic parts, replaced the rubbers and any burned-out lamps, and brought out the Novus to clean up the playfield and the metal polish for the wireforms. After all, it's no good fitting a nice clean playfield protector onto a dirty playfield. With everything cleaned up, it was time to check the protector to make sure it fitted OK.
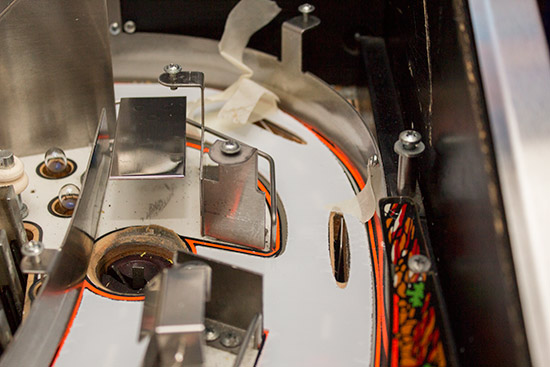
Once the fit had been confirmed, the protector was removed so the backing film could be removed.
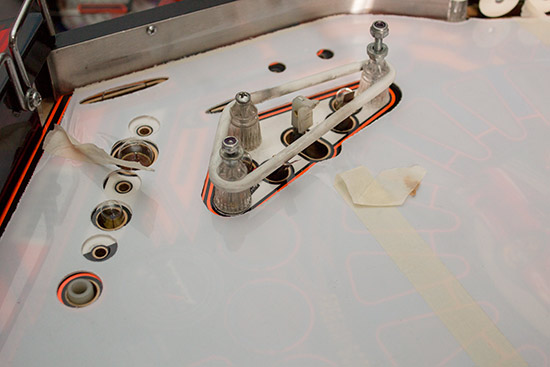
Unlike mylar, the playfield protector uses no adhesive to hold it in place. Instead, the weight of the protector and the way it is cut to fit around the various playfield components is enough to make sure it doesn't slide about.
It's important to make sure all the switch cutouts and screw holes are correctly aligned with the corresponding holes in the protector. When the playfields were originally made, there was quite some variation where holes were routed and drilled, so the playfield protector makes allowance by making the holes a little larger.
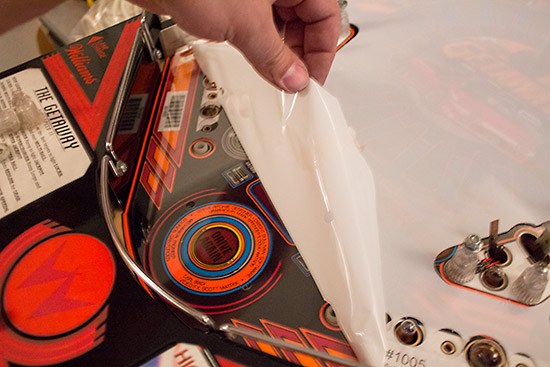
Once everything has been checked, the upper protective film can be peeled back and removed.
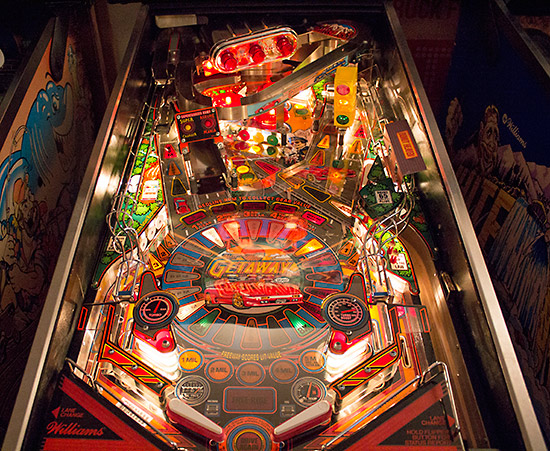
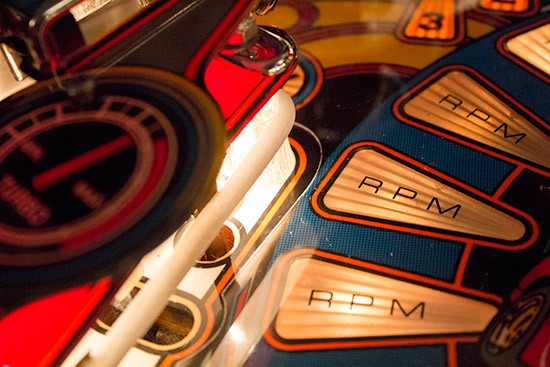
When the film has been fully peeled back, the glossy finish of the protector can be seen.
Then it's time to reassemble the playfield.
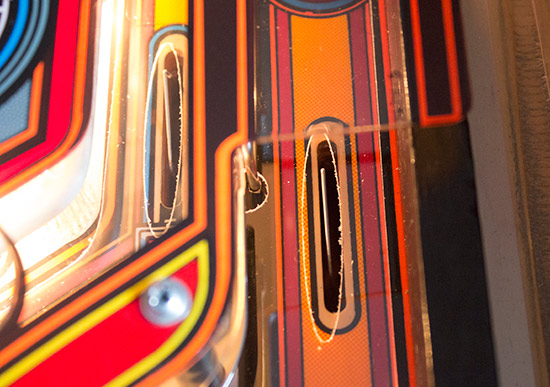
So the playfield protector produces a glossy finish, much like that achieved with several layers of clearcoat. There are some important differences though. Firstly, while the fit around the playfield components is good, it's not perfect. You can see it if you look closely, although it's not normally noticeable during gameplay.
Unlike clearcoat however, it's not necessary to remove everything from the playfield to apply the protector, and the whole process is both reversible and renewable. If you accidentally damage the protector, you can just fit a new one. One thing we wish we had done during the installation was to vacuum the protector after removing each layer of protective film. Where the Makrolon material has been cut, there are tiny pieces of swarf left behind which can easily find their way under the protector if you're not careful.
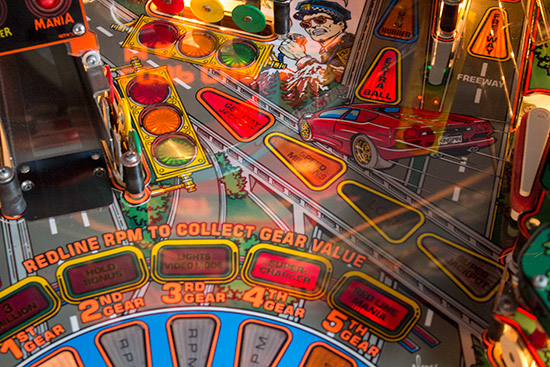
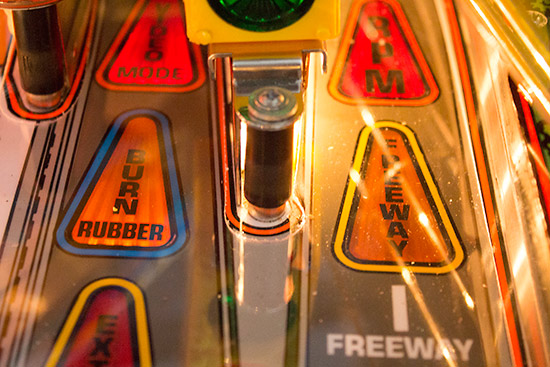
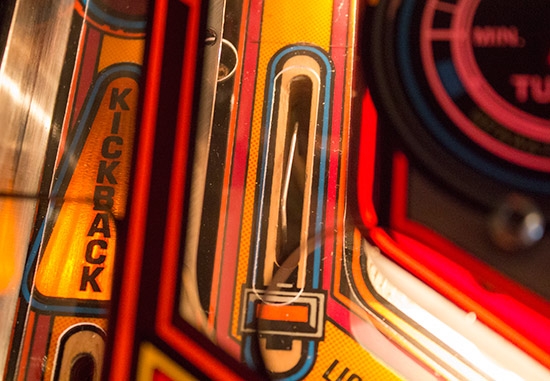
As the film is removed, the protector develops a static charge which attracts the swarf. Using a vacuum cleaner nozzle to suck this up would help keep everything clean and tidy. We are told that the latest version of the playfield protector doesn't have the same swarf around the edges, but even so it makes sense to remove any stray dust or dirt particles while fitting it. There's one other point worth bearing in mind. Because the Makrolon sheet has a certain thickness, some rollover switches which require a lot of movement to register may need a slight adjustment to ensure they operate reliably. The only switch we found problematic was the kickback, and a quick adjustment to the trigger wire with some needle-nose pliers quickly fixed the issue. We were curious if and how the gameplay would change with the playfield protector installed. Would that shiny surface make the ball fly around the playfield and make it uncontrollable? Actually, the opposite was true. Whether it was the protector still settling down or if it had a certain springiness to it we don't know, but the game played slightly slower. It wasn't a huge difference, but it was enough that we considered raising the back legs slightly to compensate. However, right after we fitted the protector, our Getaway went away to the London Pinball Championship. There were several comments made there about how shiny the playfield was, how beautiful it looked, and how fast the game played. In fact, it ended up being used as the deciding game of the final. So it looks like any slowing down was only temporary and gameplay soon returned to normal. Would we recommend the playfield protector? It's time to reveal a little secret. This was the second playfield protector we fitted to this game. The first version had rollover switch cutouts the same shape as the cutouts in the wood and the surrounding artwork.
As good as it looked, this shape has the unfortunate side-effect of launching fast balls into the air as they rolled over the cutout. So the protector was re-designed with the newer shape which seemed to have completely solved the problem. With that reservation addressed, we can stand back and admire the attractive glossy finish the protector gives the game, safe in the knowledge it is also helping to prevent any damage to the inserts or the playfield's surface. It looks great, plays well, and protects the game. What more could you want? Playfield protectors are available now from Best of Pinball in Germany and shortly from Planetary Pinball Supply in the US. In Germany they mostly cost €119 plus shipping, and are currently available for more than seventy different machines.
But for one lucky Pinball News reader, getting a playfield protector will cost absolutely nothing. That's because we're giving away a playfield protector for the most popular dot matrix game ever made - Bally's The Addams Family - kindly donated by Mirco of Playfield Protectors. To be in with a chance of winning, sign up for our Pinball News Update Scheme. This is where we send you an e-mail summarising all the latest articles, along with extra news snippets and the occasional give-away just like this. Our next couple of Update e-mails will contain details of how to enter the draw. And if you're already signed up, keep an eye on your inbox for your chance to win a free playfield protector.
© Pinball News 2013 |