|
|

|
RAISE THE DEAD
|
|
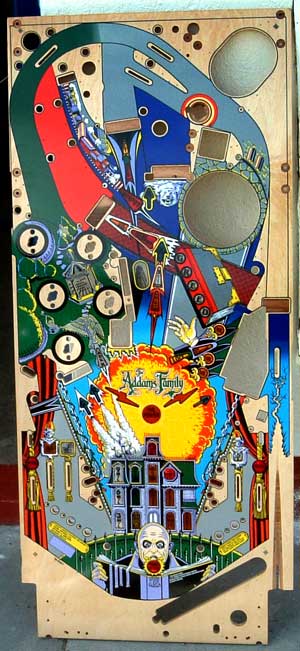
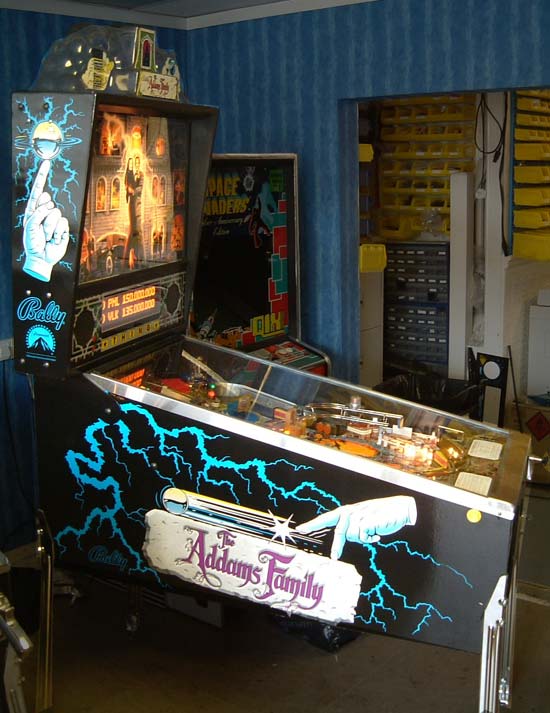
The Addams Family is generally regarded as a great game and it sells for much higer prices than other games from the same era. The only problem is, that era was thirteen years ago and many Addams games have been working hard all that time and are in a poor condition. So how can they be restored to their former glory?
At Pinball Heaven, we offer two types of Addams Familys. Our standard very nice condition fully restored model and for those who insist on the best, an Extra Mint TAF. This is the story of making an Extra Mint one. This process involves stripping all the old artwork off the cabinet, all the parts off the playfield and rebuilding it with new playfield, plastics, cabinet artwork, ramps etc etc. Well, it sounds easy so far eh?!
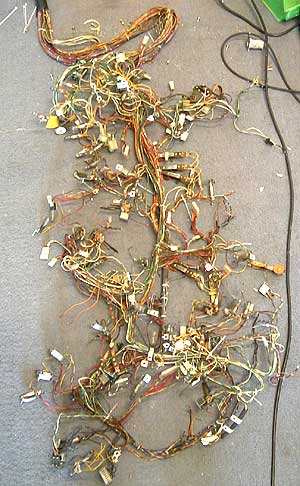
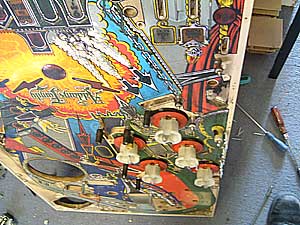
So we're now upto about the stage where we normally are on a TAF restoration but the rest has to come off, every last thing! So I use cable ties to keep the wiring loom in almost the same shape it was when it was attached to the playfield, typically using 30-40 cable ties for this. The reason I do this rather than some other methods (like using coat hangers of piano wire) is that it keeps parts in exactly the same area, like lamp holders and microswitches. Next stage, I remove all the solenoid assys and place them in position on the new playfield, cable tying the wires to the nearby loom so that I know where they have come from without having to refer to the manual. Each solenoid assy gets serviced before it is transplanted to the new playfield; new sleeves and coils where necessary, generally cleaned and visually checked. Also, at this point, transplant all the P clips onto the new playfield. Look at the progress so far!
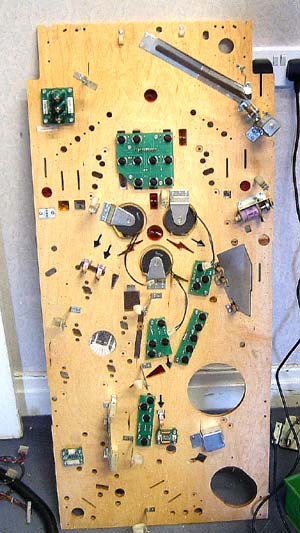
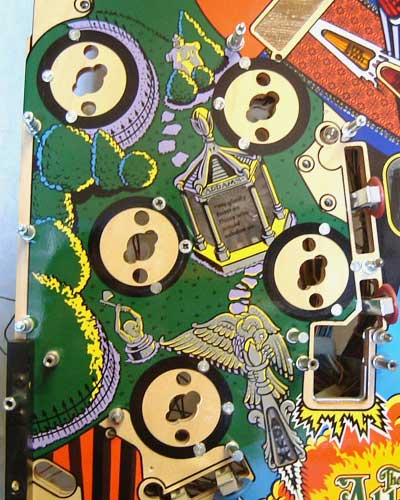
Now for the scary part, everything off! I have a nut-driver cut off and put it in a drill, this makes stripping the underside of a playfield a much easier task than without such an aid. Once you've un-done all the screws etc, this is what you're left with!
A right mess!! This is what's left of the old playfield, just some bumpers and posts that will be transplanted later (because I HATE doing jet bumpers! You will see why later)
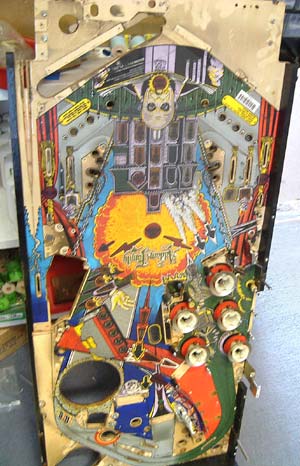
Now, from some stroke of genius at Illinois Pinball (who have the rights to re-make WMS/Bally parts), NONE of the holes are drilled for the upright/mini posts. This easily added 4 hours onto the job just from having to take such care and attention to detail. There were no markings or anything - most irritating. One mistake and there goes a very expensive playfield.
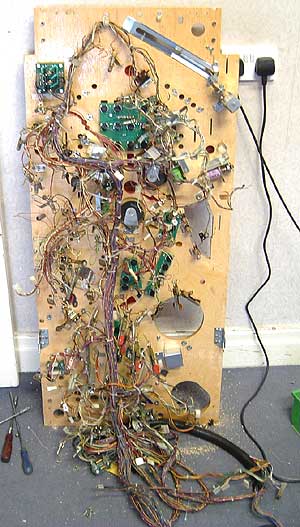
Now, basically pick up the wiring loom that's spread across the floor and lay it back on the new wood, holding it into position with the P clips.
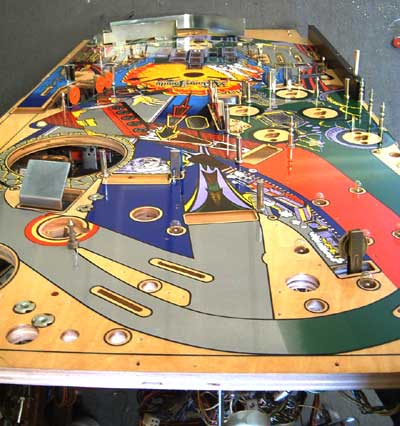
Then start putting the bulb holders etc into the correct position and start to fasten them down (using power drill again makes this much easier). Quite quickly you get the playfield looking like it had never been taken apart and its time to start soldering wires back on.
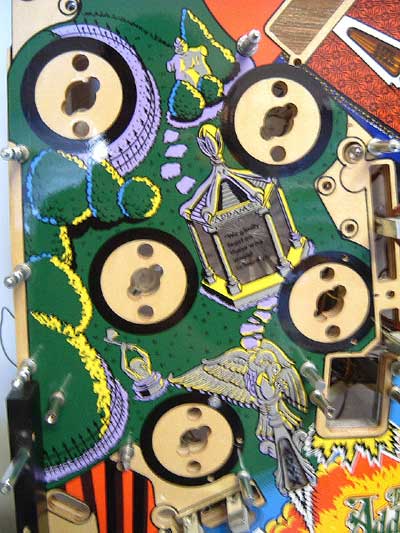
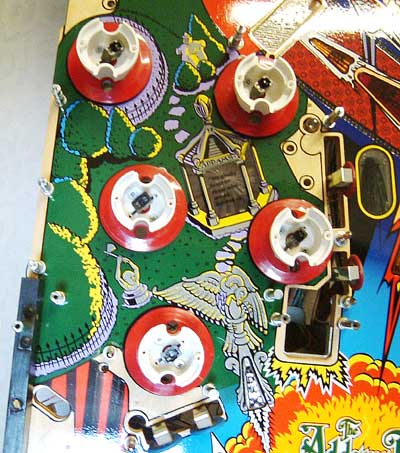
Now, the WORST part of this is the bumpers. That's why I leave it til last! Each bumper requires 5 holes, 3 for the mounting bracket and 2 for the bumper body to attach to the playfield. This requires a great deal of skill as you only get one chance to get this right and without any markings it is very difficult.
Above is the area with no holes around the bumpers (except the lower one where I started drilling) and here it is again when I've put the 15 mounting holes in place.
All that are left are the 10 holes for the mounting of the bumper body itself but that is quite easy, and finally with all the new bumpers fitted.
Next is to rebuild the upper playfield, changing plastics for NOS ones as you go and re-finishing all the metal guide rails to remove signs of ball wear on them.
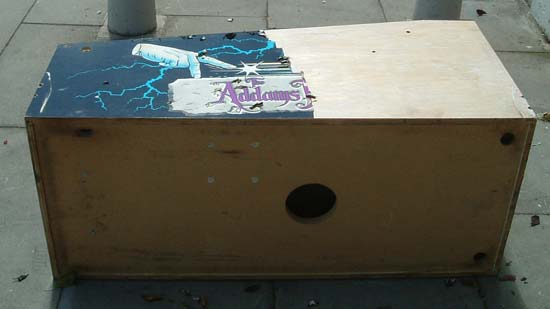
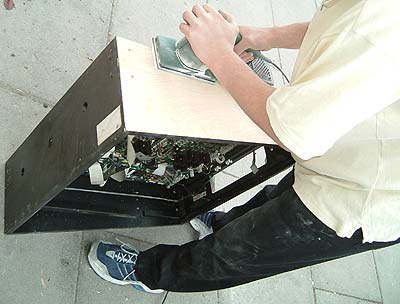
Next, the cabinet. Here's the first side half stripped.
We've already taken off the side rails by sliding a very sharp knife up the edge. They will be replaced with new ones we've had made. We use a hot air gun (paint stripper type) which takes the old artwork off no problem! Then, using a power sander we smooth the cabinet nice and flat.
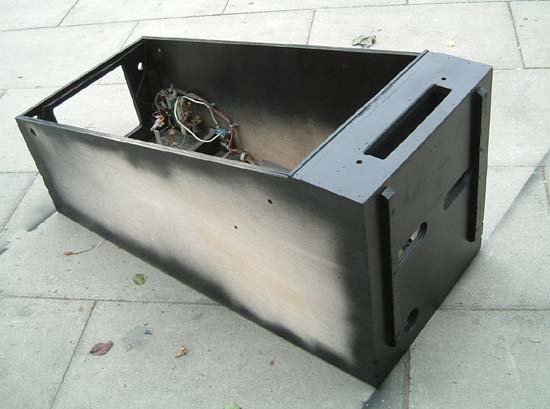
Did you notice the four extra holes on the cabinet? Well, all defects get filled later and sanded smooth again, always being careful not to fill original holes for bolts etc!!! All there is left to do is to go around the edges with black spray paint.
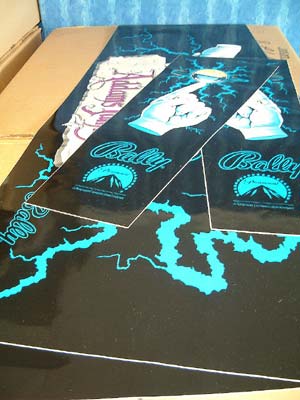
This job is 90% preparation, 5% perspiration and 5% application! Now the new artwork is ready to apply.
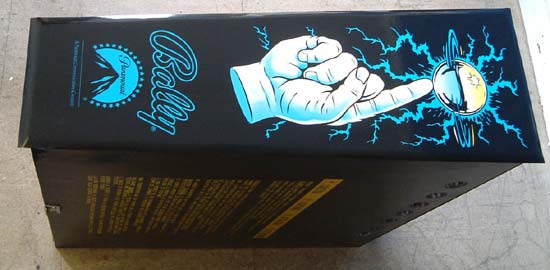
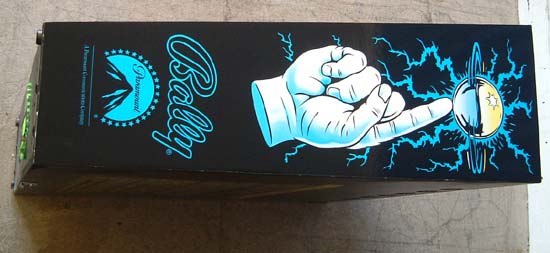
Now, there is much talk about techniques used to apply decals to the cabinet. The preferred method is to fully paint the side of the cabinet, soak it with window cleaner, lay the decal over the wet area and align to desired location finally using a squeegie to remove the excess window cleaner and leave to dry. This is not MY preferred method. Mine is to ensure you put the decal on right in the first place and not have anything behind it that can soften the glue. So here we go; lay the new decal over the cabinet,
and with someone holding it into position (once you've decided upon the correct position), peel back the backing and slowly smooth the decal onto the cabinet. Hey presto! Then with a VERY sharp knife, trim the edges of the decals to flush with the cabinet, there is about ½ inch on all sides spare.
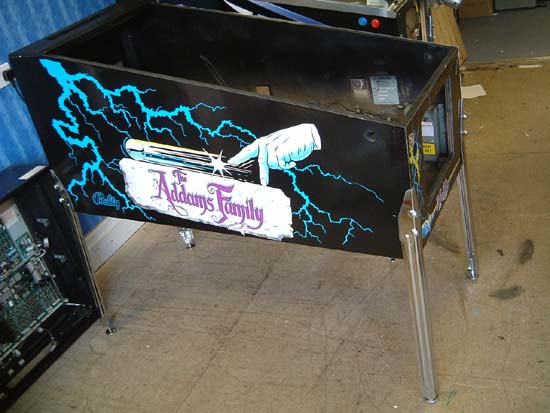
Now then, open the box that's just come back from the nice metal platers and attach all those nice shiny parts to the almost-finished playfield. Rebuild cabinet now, putting all bolts, wiring harnesses, new coin door etc back together and put it on legs for the first time.
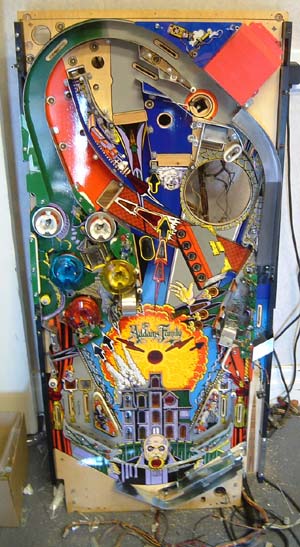
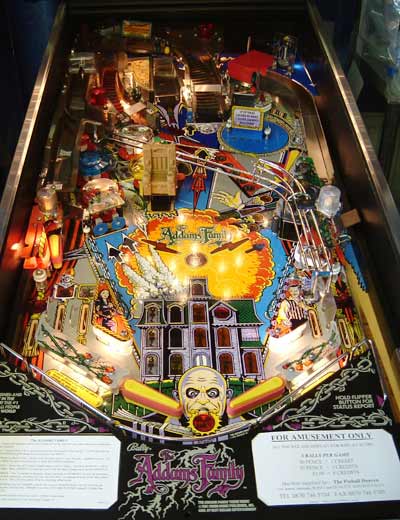
Then attach the backbox and insert the playfield. Connecting the wiring harness is quite easy and the most important part is to do it neatly. I've taken so many backboxes off now that you cant tell they've been touched. I've had some games in, that other people have taken apart and the wiring loom in the head looks like a plate of spaghetti. At least when I've done it, it looks like it did when it left the factory - relatively neat! Here's the finished playfield powered up for the first time. The main ramp is a new one from Pinball Inc. We are distributors for Pinball Inc's products.
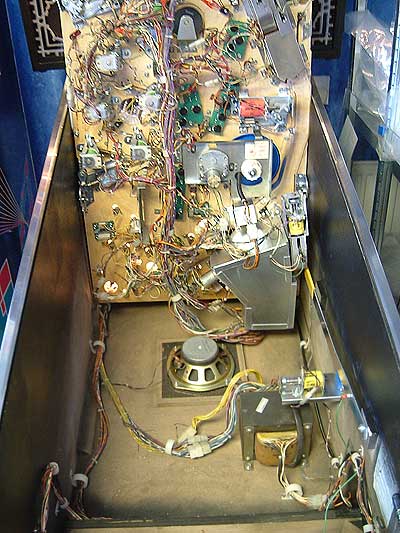
Here it is underneath. Notice how shiny the thing box, playfield prop and a few other metal parts are, all thanks to the zinc platers!
And here's the finished article. Very nice indeed.
If you don't relish the work you can get one of these games direct from Pinball Heaven.
|