|
|
TINY PIN |
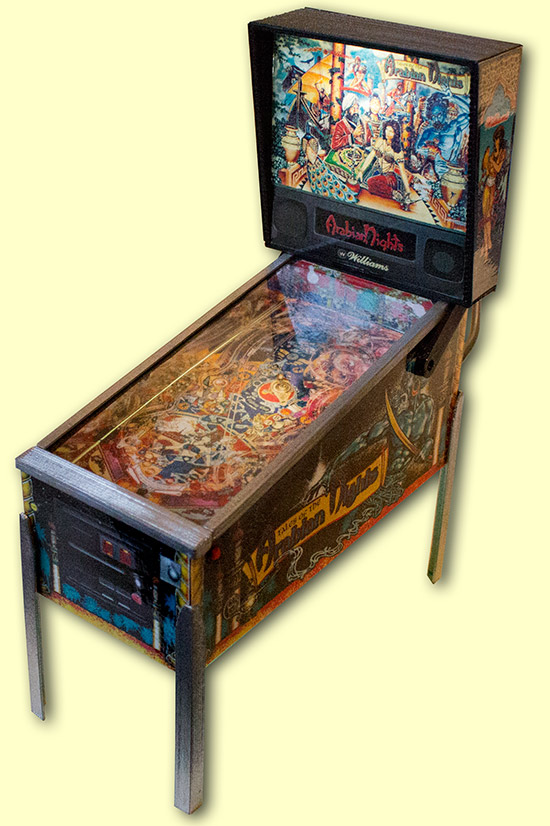
Date: 27th January, 2014 Many of the reviews in Pinball News's Learn section cover essential modifications, tools or skills to make owning, playing and repairing pinballs an easier task. However, the subject of this review doesn't help in any of those ways. In fact it is gloriously frivolous, rewarding you solely with an attractive and decorative object to enjoy. Tiny Pin is, in short, a scale model of a modern pinball machine.
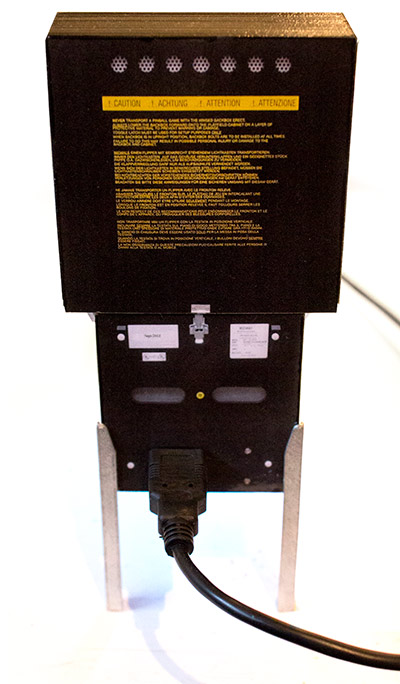
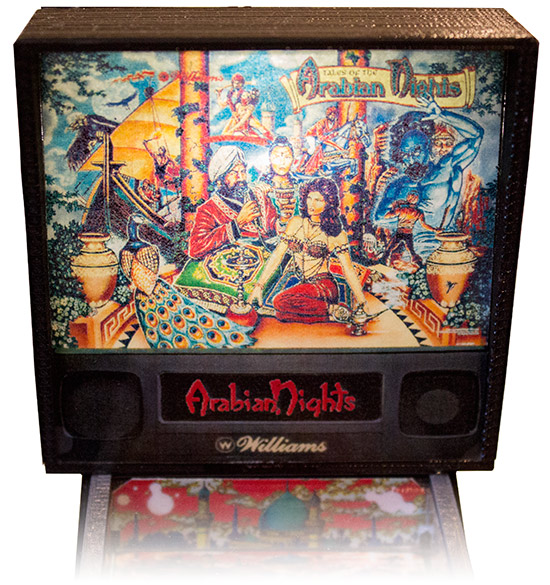
There have been paper or card cut-out models of pinballs available for a while, but this it a much more solid and realistic 3D-printed plastic 1:10 scale model, and as we'll see, it has a number of surprising features. The first of these is how the game is powered. Yes, the Tiny Pin takes a 5V power source through a full size USB connector mounted on the back of the cabinet. A suitable cable is provided to hook the game into a standard USB outlet from a phone charger, computer or powered hub.
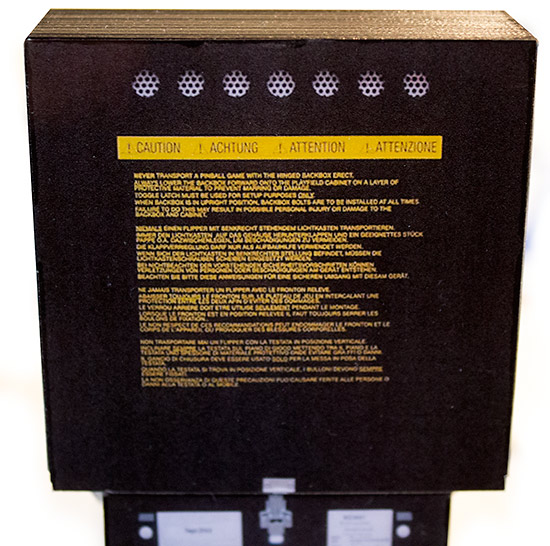
As you can see, there is considerable attention to detail from the ventilation grilles to the backbox latch and warning text.
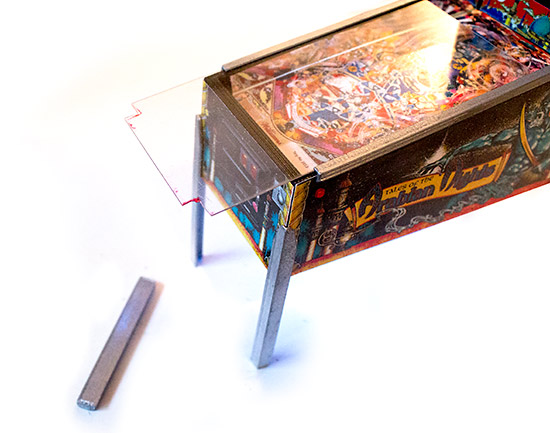
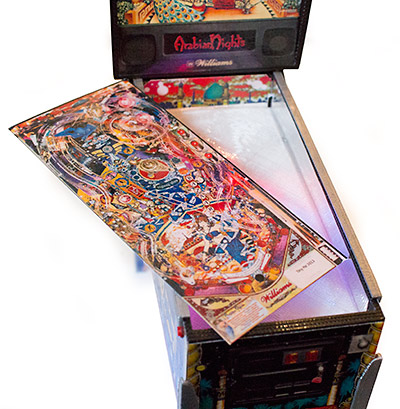
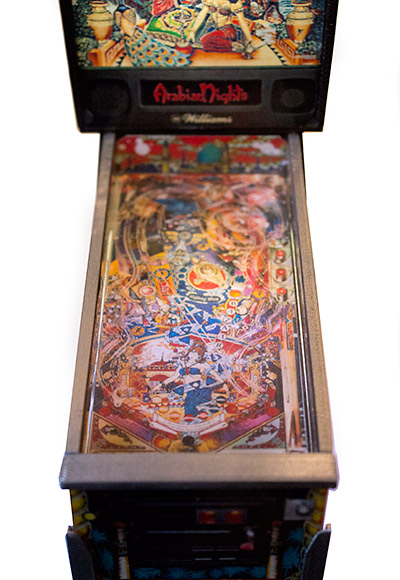
The legs are individually molded and removable - they slots into the corners of the plastic cabinet - and the game is shipped with a spare leg in case one gets damaged. Having removable legs is just the start of the Tiny Pin's realistic features. As with a real game, you can access the playfield by removing the lock bar and sliding out the 'glass', which in this case is a clear plastic sheet.
The 'playfield' is just a flat image printed on a piece of card, although it could be possible to customise this with the addition of miniature 3D printed playfield elements such as pop bumpers, ramps and flippers. It also come with 'Mirror Blades' pre-installed along the side of the cabinet to reflect the playfield image and a backboard image to extend the theme.
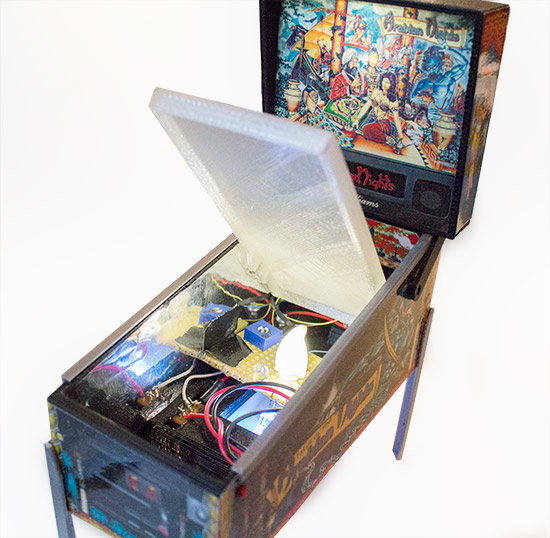
Why would you want to access the playfield? So you can lift it up and get inside the game, of course. Press down on the top of the Tiny Pin's playfield and it pivots so you can raise it.
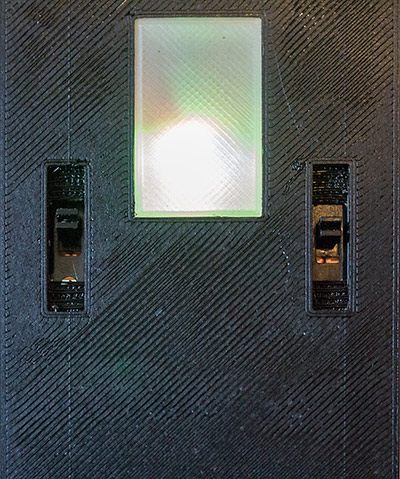
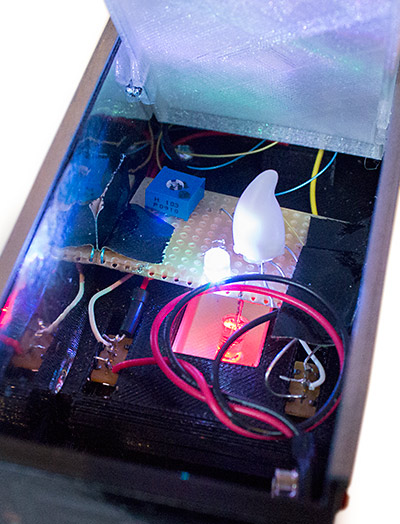
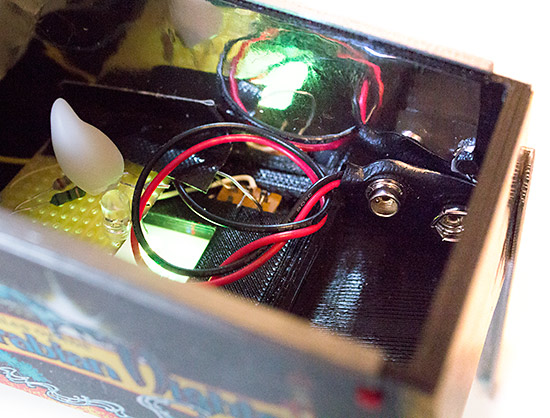
Now you can see what that USB power connector is for. Inside the cabinet is a small piece of Vero board upon which three LEDs and a variable resistor are mounted. The Tiny Pin illuminates in three ways. Firstly, a colour-changing LED points downward to light the floor under the cabinet, as we can see if we take a look at the bottom of the model.
Two slide switches are also located on the bottom of the cabinet. One of these changes the way the playfield is illuminated. The standard method is to use a warm white LED which provides a steady glow, but this can be switched to a second colour-changing LED instead.
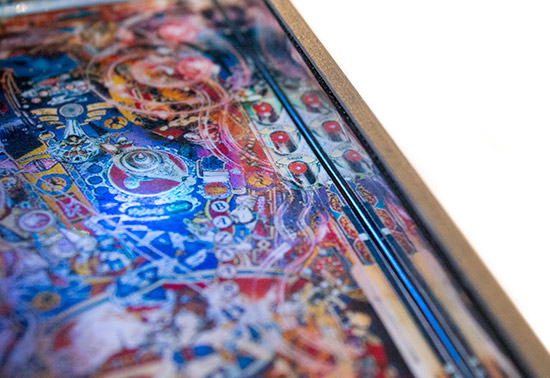
Both playfield lighting options only use a single LED device so the illumination is fairly centralised, although the distance to the playfield and the opaque nature of the playfield bed's material help with the distribution of the light.
There is a small amount of light leakage around the sides of the playfield which looks a little distracting. We haven't tried it but we suspect a strip of black electrical tape run along the side of the playfield's bed and wrapped onto the top and bottom surface below the playfield image could well fix that.
If USB power is not readily available, the second switch on the bottom of the cabinet changes the power source from the USB's 5V to the 9V supplied by an optional MN1604/6LR61 (commonly called a PP3) battery which can be plugged into the supplied connector and slotted into the front portion of the cabinet.
To find the third light source we need to put the playfield back and head to the backbox.
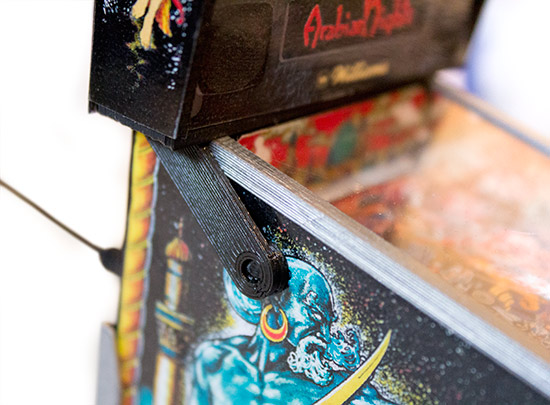
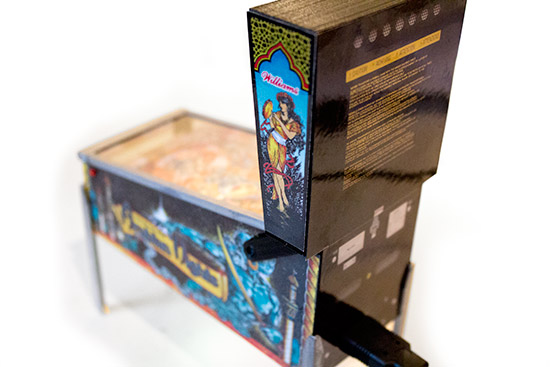
The speaker panel and translite are a single printed image, behind which sits a lone white LED. A sheet of silver foil pasted on the back wall helps distribute the light, but once again the illumination is biased towards the centre. The card with the backbox image is glued at the base but unsupported at the top, so it's quite easy to push it in if you're not careful. The backbox also maintains a realistic feel thanks to these functional plastic hinges on the sides.
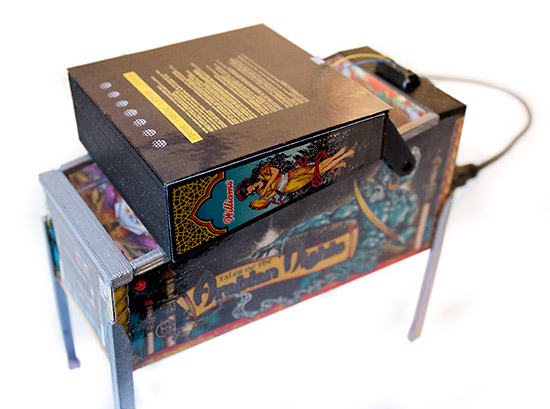
These allow the backbox to fold down and rest on the cabinet's side rails.
This exposes the two wires which provide power for the backbox lighting, so - as with a real game - you need to be careful not to pinch or damage the wiring when snapping the backbox back into its upright position. The front of the cabinet is flat artwork without a functional coin door, although the two flipper buttons on the side are nicely raised.
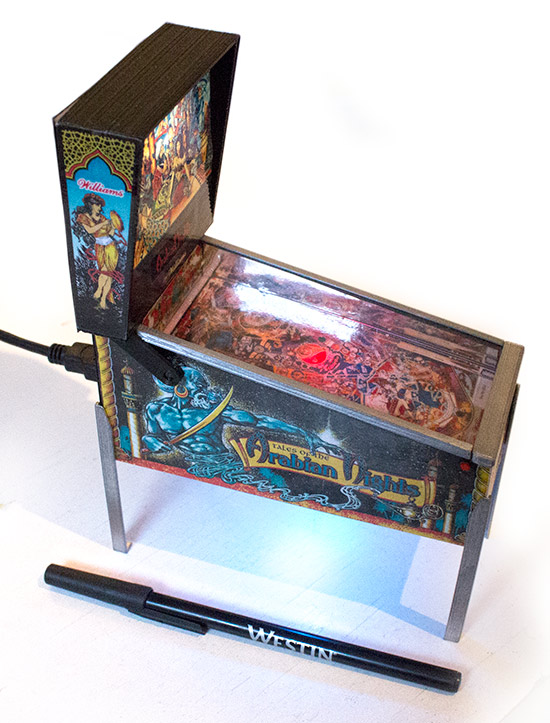
When the Tiny Pin first arrived and was unboxed, it was larger than we were expecting since we were more used to miniature die cast pinball models such as those given as trophies. So to give you a good idea of the size, remember that the Tiny Pin is just a little wider than the internal 9V battery and connector. Or use this standard international unit of pinball measuring - the Pinball Expo hotel pen.
A slightly smaller version which is 75% of the size of the Tiny Pin (the Tinier Pin?) is also being developed, as are additional features for the original, including an illuminated flashing start button and game sounds. Overall we were impressed with the functionality of the Tiny Pin. The lighting effects are good, and having kept the review unit continuously powered for a month we can say that despite the slightly rough-looking internals, it has continued to work perfectly. All the plastic parts are 3D printed, which gives the cabinet and backbox a solid feel. The legs's connection to the cabinet feels a little less robust, but they could be glued on for a firmer feel if they don't need to be removed. Despite their diminutive size, the legs have no flex and are more than capable of supporting the game. The elephant in the room here is the use of copyrighted artwork. The review model was supplied with indicative artwork to show how a Tales of the Arabian Nights could look. Tiny Pin buyers are invited to supply their own pictures which can be printed to the correct size and supplied with the model, or blank cabinets are available if you want to create your own.
Exact requirements should be discussed with Adriaan of Tiny Pin in the Netherlands, since different colours of trim can be made such as a green version for Avengers - The Hulk LE. At the time of writing, exact pricing has not been confirmed, but is expected to be from €70 to €150 depending on the options chosen. More details are available from the Tiny Pin website and Facebook page.
Since the review model was produced a number of enhancements have been made. These include a second playfield LED, a cool white backbox LED which improves the light dissipation, and the 9V battery has been replaced with three button cells which can be removed through the bottom of the cabinet.
© Pinball News 2014 |