|
|
|
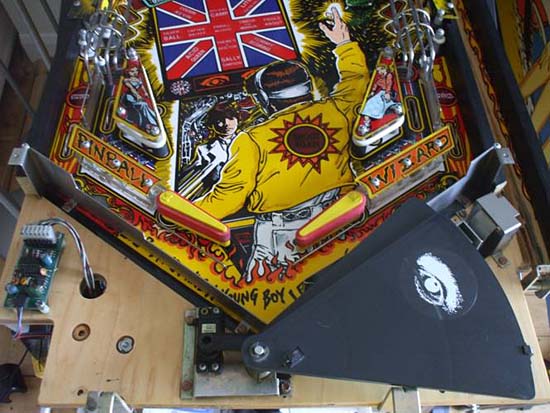
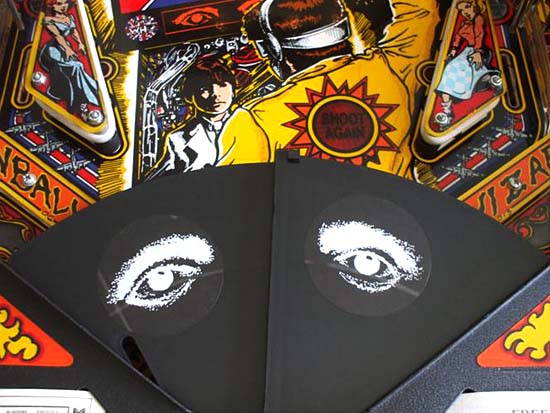
| Review by Ivan Durneen The unique blinders on Data East’s Tommy pinball are in my opinion one of the greatest ‘toys’ on any pinball machine. At certain points in the game - ‘Tommy’ mode, advanced stages of multiball and during the Wizard mode - the blinders will sweep out from below the apron completely blocking the players view of the flipper area, forcing them to call on all their pinball wizard skills as they effectively play blind, just like Tommy! Like all great pinball toys they have a real ‘wow’ factor - especially for players who have not seen them before. They also work brilliantly within the theme of the game, and importantly they add something to the gameplay. And unfortunately like all great pinball toys, the blinders can also suffer problems which will prevent them working properly - they may slip out of correct alignment, or open and close at the wrong time. This is often a direct result of faulty or failing components on the small Servo controller board which sits underneath the apron to the left of the blinders. This board includes amongst other components two potentiometers that are important for adjustment of the blinder open/close position and which unfortunately are prone to unreliability with age. Until now there has not been a direct replacement for this board available to buy. Owners would have to replace faulty components or try to source a replacement board if theirs was beyond repair or even missing. This redesigned controller board from Tom van der Mast we’re looking at here is a solution to that problem.
The new Servo PCB comes complete with comprehensive installation instructions and mounting hardware in the form of 4 screws and 4 plastic standoffs. It is designed to fit exactly in place of the original board and requires no soldering. So let’s see how easy it is to install, and importantly how well it works! After powering off the game and removing the playfield glass, access to the Servo PCB requires removal of the playfield apron. This is a simple of matter of removing two securing screws from the top of the apron and two screws from underneath the playfield. Once removed, the blinders, servo motor and the servo PCB are revealed.
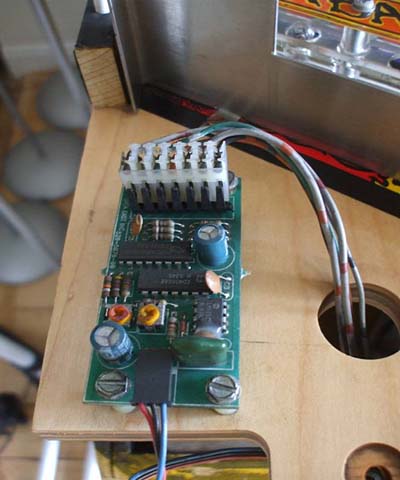
If we look at the original servo PCB we can see that it has two connector plugs attached to it and the board is mounted with 4 screws with plastic standoffs between the board and the playfield.
It is a simple matter to carefully unplug the connectors, unscrew and remove the board.
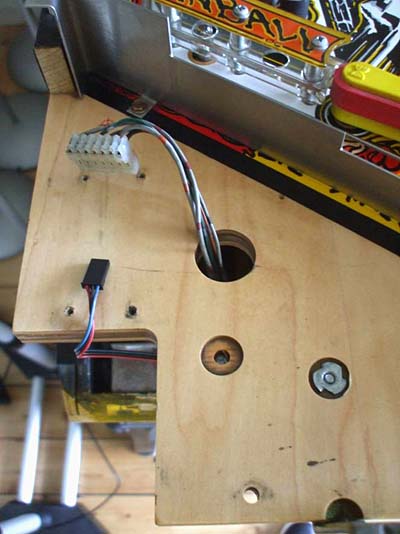
The screws and plastic standoffs from the original board can be reused to mount the new board. It is exactly the same size and reuses the existing screw holes.
The instructions refer to the original standoffs as being black plastic, I found mine were white. New screws and grey plastic standoffs are provided if you are missing any, however due to being slightly different sizes these must not be mixed and matched with any original hardware. So either use your old ones or use the new set of screws and grey standoffs.
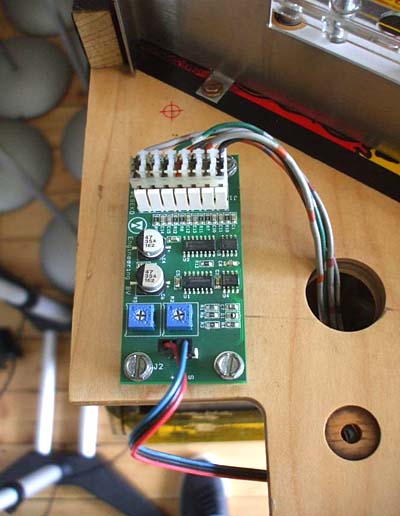
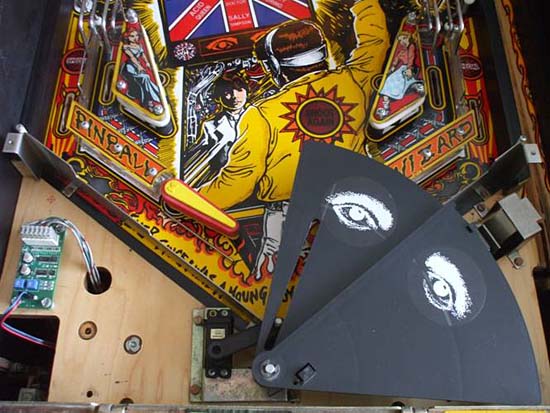
With the new board installed we can now power on the machine and see what happens. The blinder assembly cycles and moves the blinders to a semi-open position.
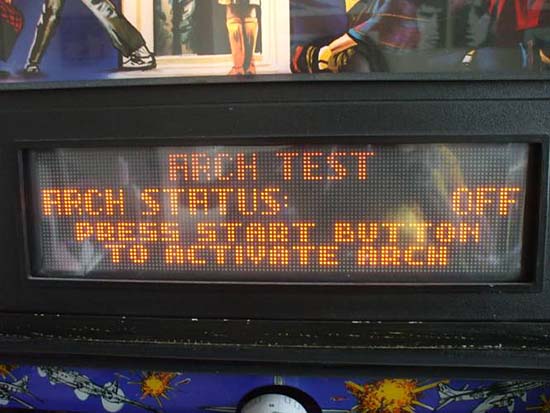
Clearly they will need some adjustment and so following the instructions we go into the machines diagnostics menu and select the "Arch Test".
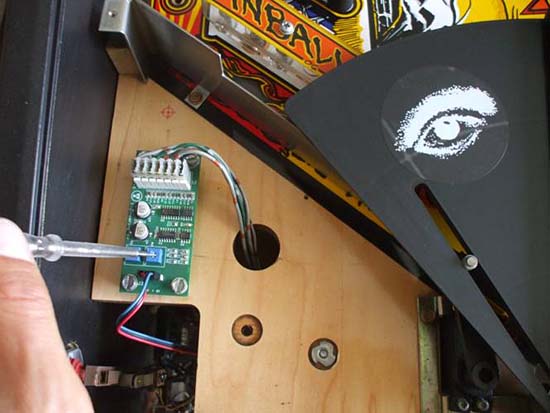
Pressing and holding the start button opens the blinders and holds them in the open position, releasing the start button returns them to their closed position. Using a small screwdriver it is possible to gently turn the potentiometers and in doing so adjust the open and closed position of the blinders.
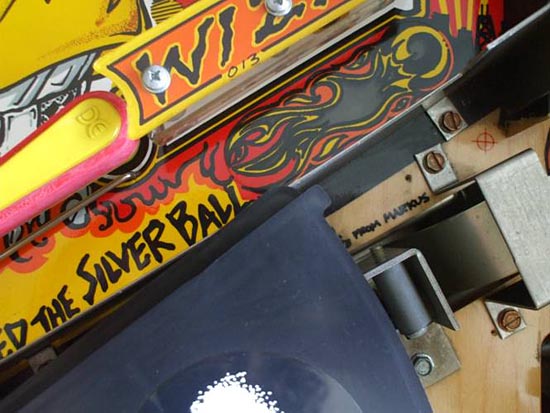
As you turn the potentiometer the blinder will move, you keep doing so until it is in the desired position. The potentiometers do not need to turn far and a gentle touch is required. Potentiometer R2 adjusts the open position of the blinders and potentiometer R5 adjusts the closed position. I found a few small turns of each pot was enough to get the blinders in the required position. The instructions give clear guidelines on the positioning of the blinders. In the open position it is important to ensure that the blinders do not hit a wireform on the under side of the apron, as shown below. This does involve carefully putting the apron back in position – it can be just set in position without having to put the screws back in. You need to be careful not to snag the blinders with any part of the apron mounts as you do this.
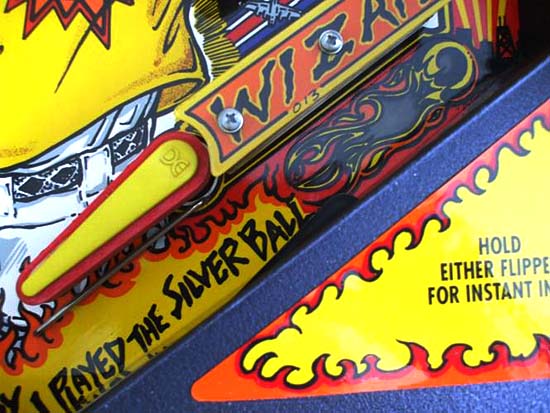
And in the closed position the blinders should not protrude more than about 5mm over the ball guide – as shown below.
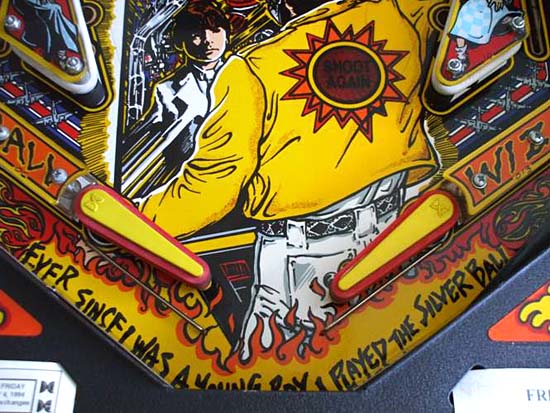
The following photo shows the blinders in the closed position with the apron in place.
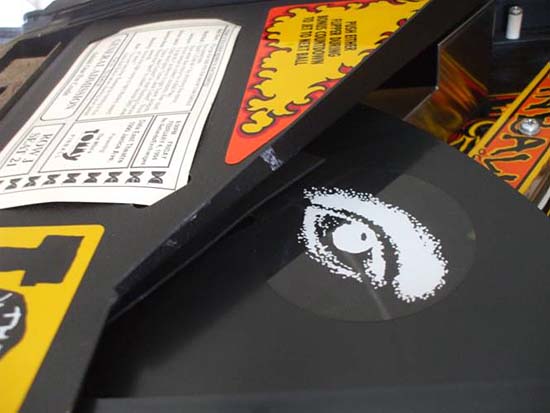
Once happy with the position of the blinders and having opened and closed them a few times to ensure all is well, we can replace the apron, reinstall the playfield glass and enjoy a game of Tommy with fully working blinders. Nice pair of flippers ….Now you see them …..
And now you don’t !!
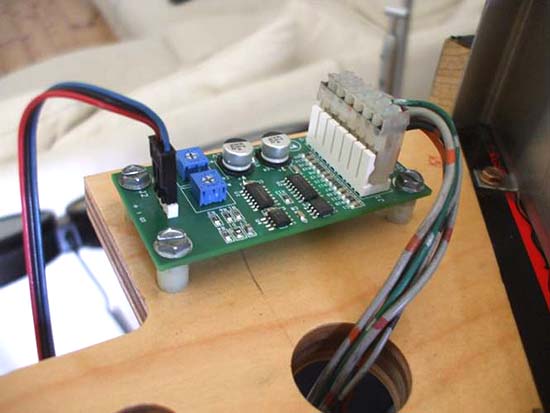
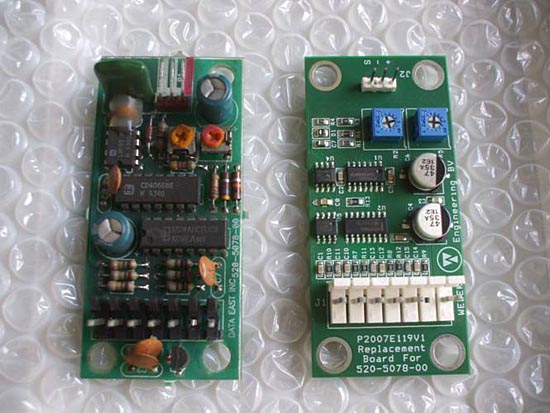
This is a well made, professional looking board which does exactly what it says it does – replaces the aging servo PCB board in Tommy. If we compare the 2 boards you can see the new board (shown on the right below) looks neater and tidier using newer components. It is worth pointing out that the potentiometers on the original board were different colours, R2 yellow and R5 red. And they are referred to as such in the original Tommy manual. On this new board they are both the same blue colour – they are however clearly marked R2 and R5.
Installation was simple with clear, concise instructions provided. No soldering or special skills are required and if you aren’t messing about taking photos (!) it is a 15 minute job max. Right – off to fine tune my Pinball Wizard skills! The replacement Tommy board is available from Pinnovations in The Netherlands and the cost is €49.95 (approx $64).
|